README
Botkit CMS
An open tool for designing, building and managing interactive dialog systems
This project can serve as a drop-in replacement for users of Botkit Studio.
Create Botkit Dialog Editor & API Service
Clone this repo and set it up on a public host somewhere. Clicking the Glitch link below will do this for you.
If migrating from Botkit Studio, get your existing scripts, and put the resulting scripts.json file in the .data/ folder or import it through the UI.
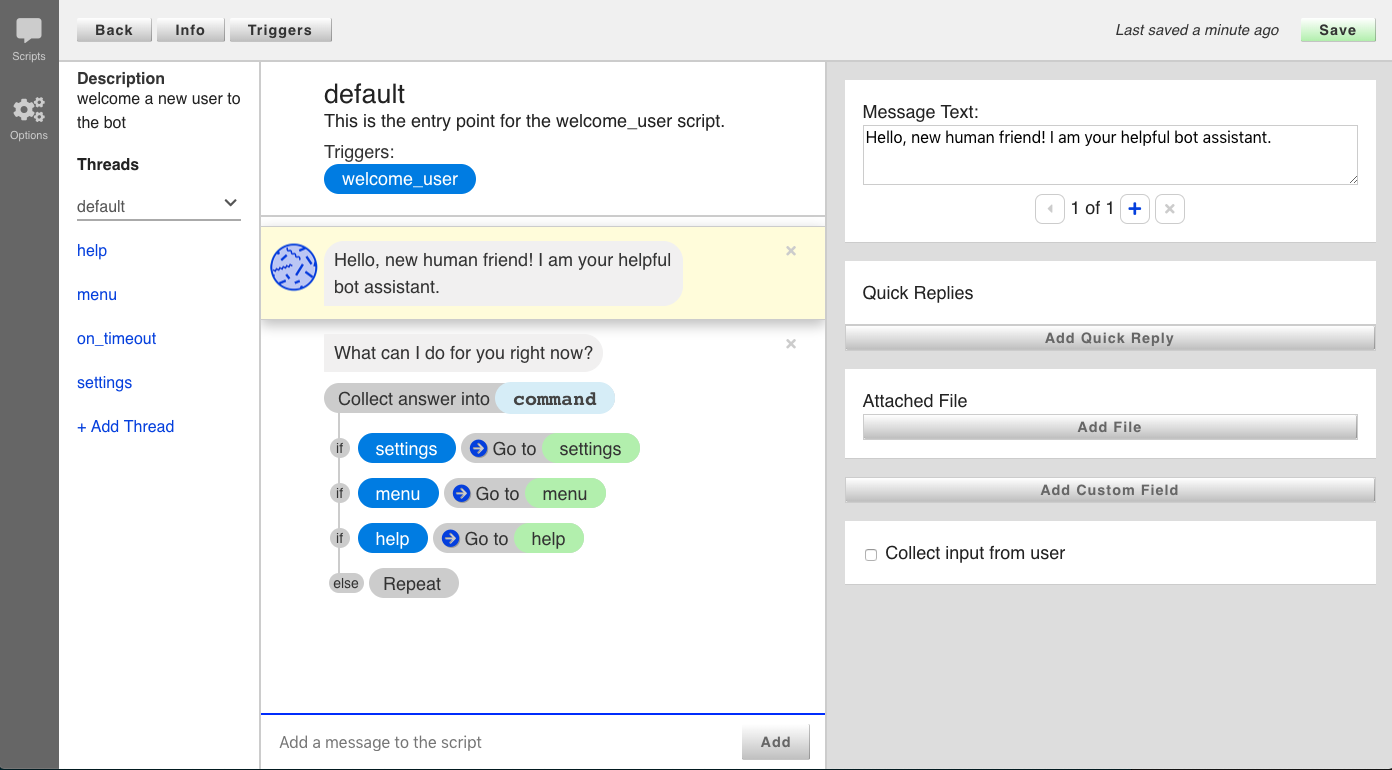
Launch the app, then load it in your web browser. You should see a link to the editor screen.
Make sure your new service is available at a public address on the web. Then, modify your Botkit app to include a pointer to this new service.
var controller = Botkit.platform({
  studio_command_uri: 'https://my.new.service',
  studio_token: 'a shared secret'
})

Migrate from Botkit Studio
If you have existing script content in Botkit Studio, you can migrate to a Botkit CMS instance by using the data export tool.
- Login to your Botkit Studio account.
- Navigate to a specific bot and find the "Migrate Now" button on the dashboard.
- Deploy the service to Glitch - this will preconfigure the service with your current
studio_tokenand other settings. - Click "Download" to download the file, or copy paste the content of the window into a local file named
scripts.json - Use the "Import" tool within Botkit CMS to import the scripts.
Configuration
Options for this service are controlled via environment variables, which can be stored in a .env file at the project root.
Here is an example .env file:
# Chat platform
# PLATFORM=<platform>
# valid options are slack, teams, ciscospark, web, facebook
PLATFORM=slack

# authentication tokens for Bot users
# TOKENS="123 456"
TOKENS=youwillneverguessmysecretbottoken

# Admin users for UI
# USERS="username:password username2:password2 username3:password3"
USERS=admin:123secret

# LUIS Endpoint
# URL to published LUIS Endpoint in the form of https://<REGION>.api.cognitive.microsoft.com/luis/v2.0/apps/<APPID>?subscription-key=<SUBID>&verbose=true&timezoneOffset=-360&q=
# Get this from LUIS.ai Keys and Endpoint settings
# LUIS_ENDPOINT=

# LUIS App Version
# Defaults to 0.1, update if you manage multiple LUIS app versions
# LUIS_VERSION=0.1
Using LUIS.ai
This project includes support for using LUIS.ai to determine the intent represented by an incoming message.
To enable LUIS, add the LUIS_ENDPOINT variable to your environment.
After enabling LUIS, new options will appear in the Trigger dialog that will allow you to assign intents from LUIS as triggers.
Editor Configuration
The Botkit dialog editor can be used in one of several different flavors, controlled by the PLATFORM environment variable.
| Value | Description |
|---|---|
| web | Botkit Anywhere mode |
| slack | Slack mode |
| teams | Microsoft Teams mode |
| ciscospark | Cisco Spark / Webex Teams mode |
| Facebook mode |
Securing Admin / Editor Access
Access can be limited and users can be controlled using the USERS environment variable.
Set the variable to a space separated list of user:password pairs. Users will be shown a login prompt when accessing any url within the /admin/ url.
Securing API Access
You can lock down access to the API by specifying one or more access tokens in the TOKENS environment variable (or in the .env file).
If any tokens are specified, access to the API requies a valid value in the access_token url query parameter. Botkit will automatically use the Botkit Studio studio_token value for this.
Building Project
Modifications to the front end application or css should be done to their original source files, then compiled by the build process. To build the Javascript and CSS files from their source locations, run the following command:
npm run build
The front end editor application included in this project is built with Angular. The source code of the this application is broken up into several component files in the js/ folder. These are compiled into a single source file and moved to a final home at public/js/scripts.js by the build process.
The CSS is controlled by SASS files in the sass/ folder. These are compiled into a single source file and moved to a final home at public/css/new.css by the build process.
Alternate: Use this as a component in your Botkit App
First, npm install this:
npm install --save botkit-cms
Get your existing scripts, and put the resulting scripts.json in the main folder of your bot project.
Then, add to your bot's main file, just after defining your controller object:
var cms = require('botkit-cms')();
cms.useLocalStudio(controller);

cms.loadScriptsFromFile(__dirname + '/scripts.json').catch(function(err) {
  console.error('Error loading scripts', err);
});