README

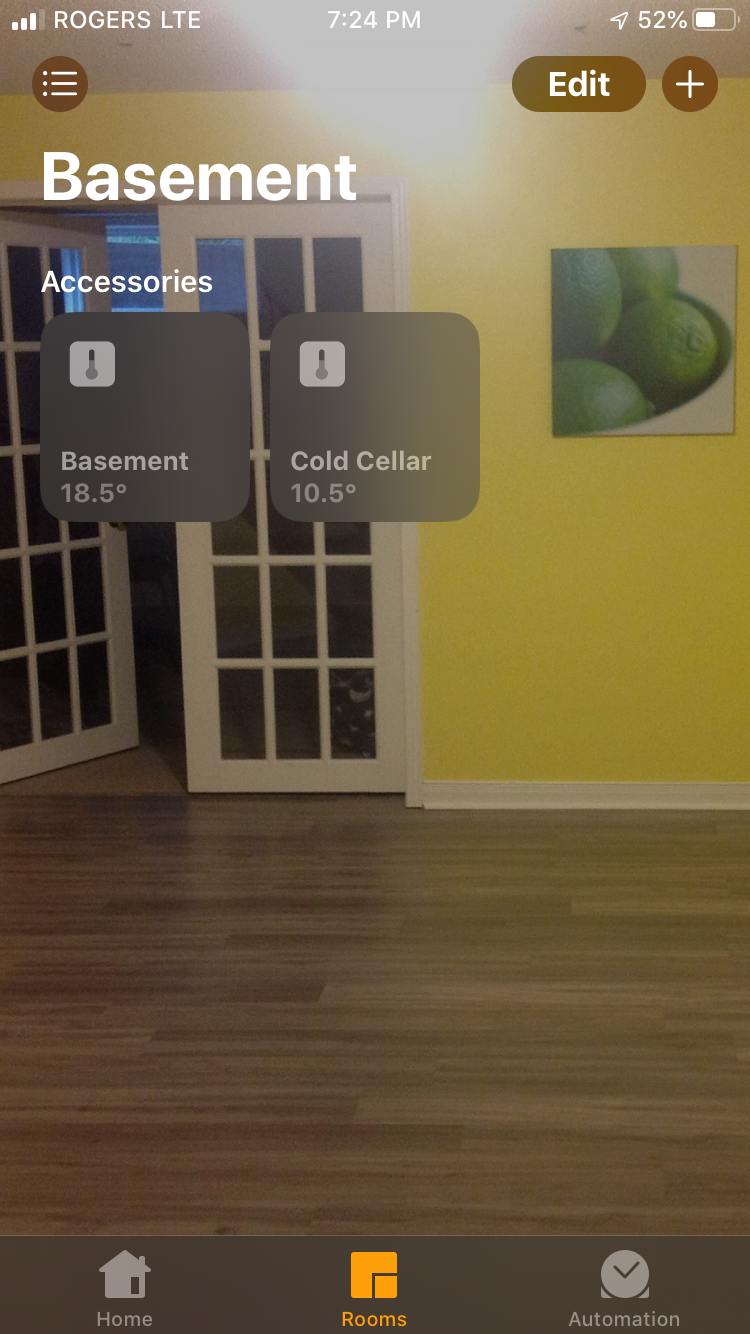
Supports integration of a DHT11/DHT21/DHT22/DHT33/DHT44 Temperature/Humidity Sensor into hombridge via the BCM2835 library on a Raspberry PI. I have tried numerous other interface methods for the DHT22, and found that this was least problematic. Also includes optional reporting of the RaspBerry PI CPU Temperature. This latest version splits the temperature and humidity into separate sensors, so they are readable from the home screen icon. Historical display of temperature data is available via HomeKit apps thats support graphing.
Also support use of multiple DHT22's, see config.json fragment.
- 1 - Detailed build instructions
- 2 - Install and configure required libraries
- 3 - Installing the plugin
- 4 - Configure the Plugin
- config.json Samples
- Optional cputemp script - install in /usr/local/bin
- ToDo
- Optional - Enable access to Google to log data and store history charting data
- Credits
1 - Detailed build instructions
For detailed installation instructions, please see the build instructions
2 - Install and configure required libraries
Prior to installation of this plugin, the BCM2835 library needs to be installed. Detailed installation instructions are part way down the page
If you run homebridge as non-root user - add it to GPIO group: (in case in logs: bcm2835_init: Unable to open /dev/gpiomem: Permission denied)
sudo adduser homebridge gpio
3 - Installing the plugin
sudo npm install -g homebridge-dht
4 - Configure the Plugin
A minimal config.json looks like this
{
  "bridge": {
    "name": "Penny",
    "username": "CC:22:3D:E3:CD:33",
    "port": 51826,
    "pin": "031-45-154"
    },

    "description": "HomeBridge DHT22",

  "platforms": [],

  "accessories": [
    { "accessory": "Dht",
      "name":      "Outside"
     }
    ]
}
Required Configuration options
accessory: must be Dhtname: descriptive name for the temperature sensor
Optional Configuration Options
service: dht22, dht11 or Temperature. dht22/dht11 reads local dht sensor, Temperature reads cputemp. Defaults to dht22cputemp- Full command including path to read cpu temp sensor. Not needed unless cputemp is installed in a location not on the path. Defaults to cputemp
"cputemp": "/usr/local/bin/cputemp"
gpio- Gpio pin to read for dht sensor. Defaults to 4
"gpio": "4"
refresh- Frequency of data refresh in seconds. Defaults to 60 secondsstorage- Storage of chart graphing data for history graphing, either fs or googleDrive, defaults to fsspreadsheetId- Log data to a google sheet, this is part of the URL of your spreadsheet. ie the spreadsheet ID in the URL https://docs.google.com/spreadsheets/d/abc1234567/edit#gid=0 is "abc1234567".
config.json Samples
Configuration - with RPI cpu temperature sensor, requires cputemp program ( Optional )
{
    "bridge": {
        "name": "Penny",
        "username": "CC:22:3D:E3:CD:33",
        "port": 51826,
        "pin": "031-45-154"
    },

    "description": "HomeBridge DHT22",

 "platforms": [],

   "accessories": [
    { "accessory":        "Dht",
      "name":             "cputemp",
      "service":          "Temperature" },
    { "accessory":        "Dht",
          "name":             "dht22",
          "service":          "dht22" }
    ]
}
Configuration - without cputemp
{
    "bridge": {
        "name": "Penny",
        "username": "CC:22:3D:E3:CD:33",
        "port": 51826,
        "pin": "031-45-154"
    },

    "description": "HomeBridge DHT22",

 "platforms": [],

   "accessories": [
    { "accessory":        "Dht",
          "name":             "dht22",
          "service":          "dht22" }
    ]
}
or with multiple DHT22's
{ "accessory":   "Dht",
  "name":        "dht22 - indoor",
  "gpio":        "4",
  "service":     "dht22" },
{ "accessory":   "Dht",
  "name":        "dht22 - outdoor",
  "gpio":        "2",
  "service":     "dht22" }
Optional cputemp script - install in /usr/local/bin
#!/bin/bash
cpuTemp0=$(cat /sys/class/thermal/thermal_zone0/temp)
cpuTemp1=$(($cpuTemp0/1000))
cpuTemp2=$(($cpuTemp0/100))
cpuTempM=$(($cpuTemp2 % $cpuTemp1))

echo $cpuTemp1" C"
#echo GPU $(/opt/vc/bin/vcgencmd measure_temp)
ToDo
Optional - Enable access to Google to log data and store history charting data
This presumes you already have a google account, and have access to google drive/sheets already
Step 1: Turn on the Drive API a. Use this wizard ( https://console.developers.google.com/start/api?id=sheets.googleapis.com ) to create or select a project in the Google Developers Console and automatically turn on the API. Click Continue, then Go to credentials.
b. On the Add credentials to your project page, click the Cancel button.
c. At the top of the page, select the OAuth consent screen tab. Select an Email address, enter a Product name if not already set, and click the Save button. I used 'Sheets Data Logger'
d. Select the Credentials tab, click the Create credentials button and select OAuth client ID.
e. Select the application type Other, enter the name "Drive API Quickstart", and click the Create button.
f. Click OK to dismiss the resulting dialog.
g. Click the file_download (Download JSON) button to the right of the client ID.
h. Move this file to your .homebridge and rename it logger_client_secret.json.
Step 2: Authorize your computer to access your Drive Account
a. Change to the directory where the plugin is installed i.e.
cd /usr/lib/node_modules/homebridge-mcuiot/node_modules/mcuiot-logger
b. Run the authorization module
node quickstart.js
c. Browse to the provided URL in your web browser.
If you are not already logged into your Google account, you will be prompted to log in. If you are logged into multiple Google accounts, you will be asked to select one account to use for the authorization.
d. Click the Accept button.
e. Copy the code you're given, paste it into the command-line prompt, and press Enter.
Credits
- rxseger - separate humidity sensor
- hector305 - Multiple sensor testing
- merdok - Removed duplicate humidity sensor.
- tooodooo - Added device polling
- simont77 - History Service