README
⚠️⚠️⚠️ This project has been discontinued in favor of homebridge-plex-webhooks ⚠️⚠️⚠️
Plex v2 Plugin for Homebridge


This is a fork of mpbzh's Homebridge Plex plugin.
Use the active sessions on your Plex server as a sensor in Homebridge. Enable your cozy cinema light scene when Plex starts playing and go back to your normal lighting when playback stops.
Installation
You install the plugin the same way you installed Homebridge - as a global NPM module:
sudo npm install -g homebridge-plex-v2
If you don't have a Homebridge installation yet, head over to the project documetation for more information.
Configuration
The plugin uses the following config values:
| Variable | Description |
|---|---|
accessory |
Must be Plex |
name |
Whatever you want the accessory to be named in Homekit |
plex_token |
The X-Plex-Token used to access your Plex server API. See Finding an authentication token / X-Plex-Token |
host |
The hostname / IP address of your Plex server. Defaults to localhost, can be omitted if Homebridge runs on the same server as your Plex. |
port |
The port of your Plex server. Defaults to 32400 |
filter |
An array of filter rules. See filtering sessions |
polling_interval |
Interval in seconds in which the play state is checked. Default is 3, lower values are discouraged. |
debug |
Set this to true to receive detailed debug information about active sessions and filtering. This is not recommended for permanent installations as it fills up your log files pretty quickly. |
secure |
Set this to true if secure connection has set to required in your Plex server. Defaults to false. |
cert_verification |
Set this to true to verify the server certificate of your Plex server against the list of supplied CAs in case secure connection has turned on. Should be false in case of self signed certificates. Defaults to false. |
Typical config example:
{
  "accessories": [
    {
      "accessory": "Plex",
      "name": "Plex",
      "plex_token": "...",
      "filter": [
        {
            "user": "your-plex-username",
            "player": "your-favorite-player"
        }
      ]
    }
  ]
}
Filtering Sessions
Plex will show up in your Home app as an "Occupancy Sensor". You can use this sensor in any automation you like.
Let's assume you have a home cinema with an Apple TV and the Plex app installed. You want to switch to your cinema light scene when you start watching a movie, so that all the lights dim down. Now you probably also have a smartphone or a tablet from which you occasionally stream a movie. To avoid these devices or even other users triggering the light scene in your home cinema, you can configure your sensor ignore everything other than the Apple TV.
You can configure an array of objects (we'll call that object a "filter rule"), each containing either a user or a player key or both. If any of the filter rules match an active session on your Plex server, the sensor in your Homekit will trigger and keep being triggered until you pause or stop the playback. So you can attach a scene to the "occupancy detected" event as well as the "occupancy stopped being detected" event.
If you define a filter rule only containing a user value, any device of that user will trigger the sensor. If you only define a player (e.g. my-apple-tv), then any player with that name will trigger the sensor, regardless of the user (This makes sense if multiple users use the same Apple TV).
Finding your user and player name
Just start a movie on the device you want to trigger the sensor and head over to the Plex web app. Navigate to Status -> Now Playing.
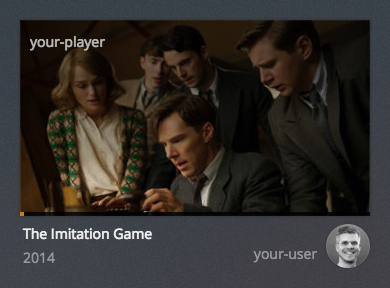
The player is in the upper left corner (in this example it's "your-player") and the name is next to your profile picture in the bottom right (here "your-user").