README
Mapbox GL Flash
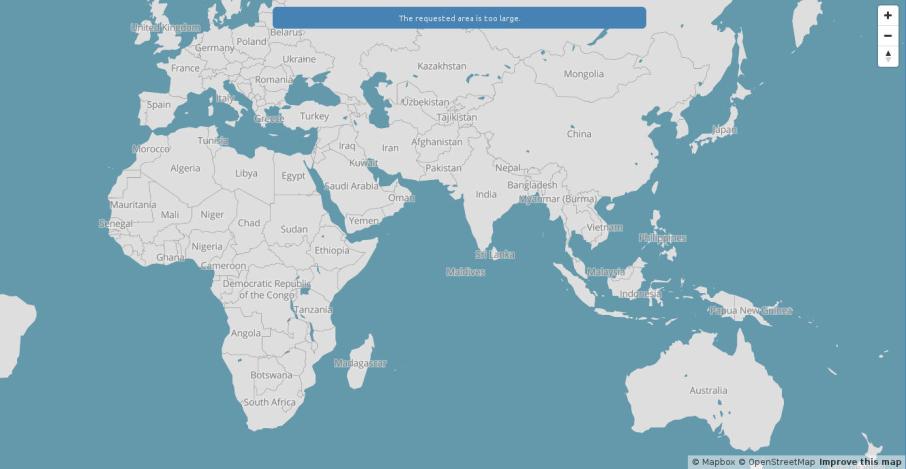
This plugin creates a flash message on your mapbox-gl-js map.
Usage
Install
npm install --save mapbox-gl-flash
Getting it set up
Styling for the flash-message class is left to you. Just mix it in with your regular css.
<script src='mapbox-gl-flash.js'></script>
<style>
.flash-message {
  text-align: center;
  color: #fff;
  background-color: red;
  margin: 0;
}
</style>

<script>
mapboxgl.accessToken = '<YOUR_ACCESS_TOKEN>';

var map = new mapboxgl.Map({
  container: 'map',
  style: 'mapbox://styles/mapbox/streets-v8',
  center: [-79.45, 43.65]
});

map.addControl(new mapboxgl.Flash());
</script>
Using it
The flash message element is listening for a "mapbox.setflash" event. Using custom events you can fire such an event and pass along a details object with some options.
// a useful helper method for creating and dispatching a custom event
dispatchEvent = function(eventName, data){
  var event = document.createEvent('CustomEvent');
  event.initCustomEvent(eventName, true, false, data);
  document.dispatchEvent(event);
};

// set the flash message to "foo"
dispatchEvent('mapbox.setflash', {message: "foo"})

// set the flash message to "foo" and add a .info class to the
// .flash-message element
dispatchEvent('mapbox.setflash', {message: "foo", info: true})

// set the flash message to "bar" and add a .warn class to the
// .flash-message element and have it fade out after 3 seconds
dispatchEvent('mapbox.setflash', {message: "bar", error: true, fadeout: 3})
Info, warn and error are all valid classes that can be added with
For further details take a look at the accompanying blog post.
TODO
- tests for the fadeout function
Contributing
- Fork it
- Create your feature branch (
git checkout -b my-new-feature) - Commit your changes (
git commit -am 'Add some feature') - Push to the branch (
git push origin my-new-feature) - Create new Pull Request
Feedback and improvments welcome. There is nothing here that cannot be improved upon.