README
react-native-paypal-swift
React Native library that implements PayPal Checkout flow using purely native code (swift).
Installation
npm install react-native-paypal-swift or `yarn add react-native-paypal-swift`
[iOS] Add
pod 'Braintree', '~> 4'andpod 'Braintree/DataCollector'to your Podfile.[iOS] Run
pod install[iOS] Register a URL scheme in Xcode (must always start with your Bundle Identifier and end in
.payments- e.g.your.app.id.payments). See details here.[iOS] Edit your
AppDelegateas follows:Objective C ~> AppDelegate.m
#import "BraintreeCore.h"
#import "BraintreePayPal.h"
#import "BTDataCollector.h"

static NSString *URLScheme;

@implementation AppDelegate

- (BOOL)application:(UIApplication *)application
  didFinishLaunchingWithOptions:(NSDictionary *)launchOptions
{
  NSString *bundleIdentifier = [[NSBundle mainBundle] bundleIdentifier];
  NSString *urlscheme = [NSString stringWithFormat:@"%@.payments", bundleIdentifier];
  URLScheme = urlscheme;
  [BTAppSwitch setReturnURLScheme:urlscheme];
}

// if you support only iOS 9+, add the following method
- (BOOL)application:(UIApplication *)application
    openURL:(NSURL *)url
    sourceApplication:(NSString *)sourceApplication
    annotation:(id)annotation
{
    if ([url.scheme localizedCaseInsensitiveCompare:URLScheme] == NSOrderedSame) {
        return [BTAppSwitch handleOpenURL:url sourceApplication:sourceApplication];
    }
    return NO;
}

// otherwise, if you support iOS 8, add the following method
  - (BOOL)application:(UIApplication *)application
      openURL:(NSURL *)url
      options:(NSDictionary<UIApplicationOpenURLOptionsKey,id> *)options
  {
      if ([url.scheme localizedCaseInsensitiveCompare:URLScheme] == NSOrderedSame) {
          return [BTAppSwitch handleOpenURL:url options:options];
      }
      return NO;
  }
Swift ~> AppDelegate.swift
   func application(_ application: UIApplication, didFinishLaunchingWithOptions launchOptions: [UIApplication.LaunchOptionsKey: Any]?) -> Bool {
       BTAppSwitch.setReturnURLScheme("com.your-company.your-app.payments")
       return true
   }

  // if you're using UISceneDelegate (introduced in iOS 13), call BTAppSwitch's handleOpenURLContext method from within the scene:openURLContexts scene delegate method.
   func scene(_ scene: UIScene, openURLContexts URLContexts: Set<UIOpenURLContext>) {
       URLContexts.forEach { context in
           if context.url.scheme?.localizedCaseInsensitiveCompare("com.your-company.your-app.payments") == .orderedSame {
               BTAppSwitch.handleOpenURLContext(context)
           }
       }
   }

 // otherwise, if you aren't using UISceneDelegate, call BTAppSwitch's handleOpenURL method from within the application:openURL:options app delegate method.
  func application(_ app: UIApplication, open url: URL, options: [UIApplication.OpenURLOptionsKey : Any] = [:]) -> Bool {
      if url.scheme?.localizedCaseInsensitiveCompare("com.your-company.your-app.payments") == .orderedSame {
          return BTAppSwitch.handleOpen(url, options: options)
      }
      return false
  }
Usage
First you need to get a valid token from your server. Refer to this.
Then you can execute the following code, for example reacting to a button press.
import {Paypal} from "react-native-paypal-swift";
// ...
const CLIENT_TOKEN = useMemo<string>(() => 'sandbox_v29bk2j6_xxxxxxxxx', []);
// For one time payments
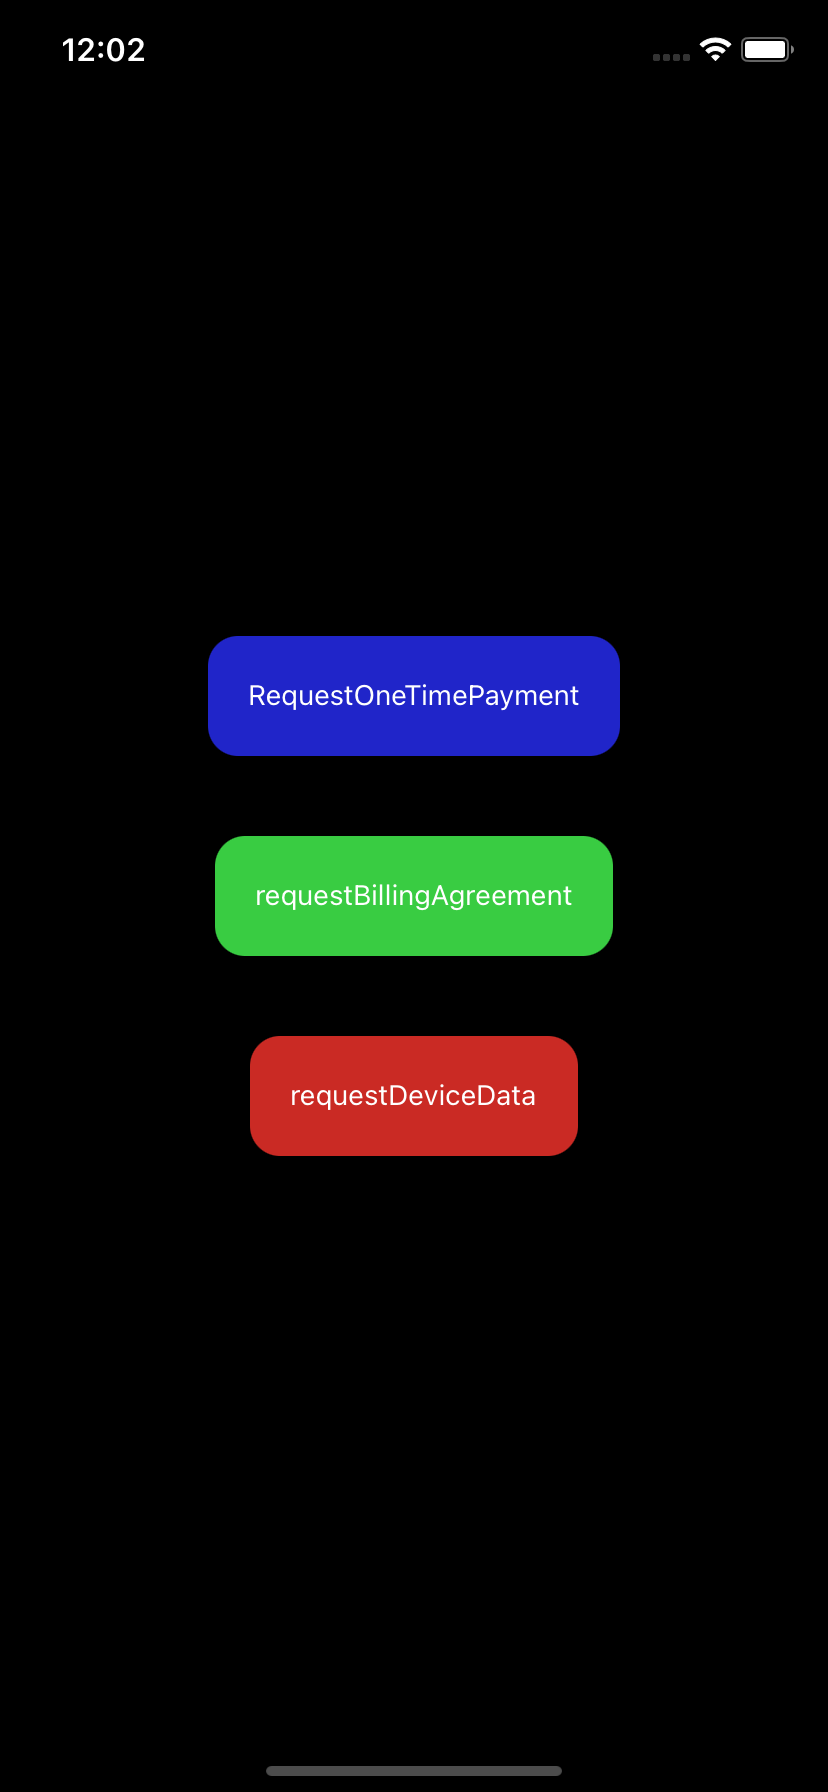
const requestOneTimePayment = useCallback(() => {
Paypal.requestOneTimePayment(CLIENT_TOKEN,
{
amount: '10',
},
).then(resOneTimePayment => {
// nonce,
// payerId,
// email ,
// firstName,
// lastName ,
// phone,
// billingAddress,
// shippingAddress
console.log({ resOneTimePayment });
}).catch(err => {
console.log(err);
});
}, []);
const requestBillingAgreement = useCallback(() => {
Paypal.requestBillingAgreement(CLIENT_TOKEN,
{
billingAgreementDescription: 'Your agreement description',
currencyCode: 'GBP',
localeCode: 'en_GB',
},
).then(resBillingAgreement => {
// nonce,
// payerId,
// email ,
// firstName,
// lastName ,
// phone,
// billingAddress,
// shippingAddress
console.log({ resBillingAgreement });
}).catch(err => {
console.log(err);
});
}, []);
const requestDeviceData = useCallback(() => {
Paypal.requestDeviceData(CLIENT_TOKEN).then(resDeviceData => {
alert(`Your correlation id: ${resDeviceData?.deviceData?.correlation_id}`);
console.log({ resDeviceData });
}).catch(err => {
console.log(err);
});
}, []);
// ...
Creating/Finding client token
Note that the client token should be served via a backend service but can be hardcoded:
- Go to https://www.braintreegateway.com or https://sandbox.braintreegateway.com/ and login or create an account
- Click the gear at the top and select to API
- You can find your token under
Tokenization Keys. You will need to create one if none exists
Backend implementation
For an overview of the braintree payment flow see https://developers.braintreepayments.com/start/overview
This library covers the client setup here: https://developers.braintreepayments.com/start/hello-client
It does NOT however cover the server portion here: https://developers.braintreepayments.com/start/hello-server
You will need the server portion in order to complete your transactions. See a simple example of this server in /exampleServer. The example app is pointed to this on default
Contributing
See the contributing guide to learn how to contribute to the repository and the development workflow.
License
MIT