README
简体中文 | English
Stateview
a react render solution for Multi-State View.


Features
- Compatible with JSX (React/Remax/Taro/Eva.js)
- Built-in the Multi-State View with {Stateview , Layer, setViewState }
- Customize Data Dispatch via React Component props.data
- Support the Nested Stateview
预览
可以通过StackBlitz进行线上预览:

安装
$ npm install --save stateview
用法
下面是3个示例,展示Stateview在多状态视图切换功能上的抽象和能力。
- 示例1:最小示例,只有Logined和UnLogin二个状态,纯UI展示型,通过stateview.show切换视图
- 示例2:数据示例,通过stateview.datashow切换状态来控制视图展示,视图组件在切换的时候,根据props.data进行渲染
- 示例3:嵌套示例,主要演示复杂场景里多状态视图切换。
- 示例4:分组示例,主要演示复杂场景同时存在多个Stateview命名空间冲突问题。
最小示例
最小示例,只有Logined和UnLogin二个状态。
import React from 'react';

import { Stateview, Layer, setViewState } from 'stateview';

/**
 * 最简单的Demo:2个状态切换
 */
export default () => {

  function unlogin() {
    setViewState('unlogin')
  }

  function logined() {
    setViewState('logined')
  }

  return (
    <Stateview default='unlogin'>
      <Layer state='logined'>
        <h1>Logined, <button onClick={unlogin}>go to UnLogin</button></h1>
      </Layer>
      <Layer state='unlogin'>
        <h1 >UnLogin, <button onClick={logined}>go to Logined</button></h1>
      </Layer>
    </Stateview>
  );
}
数据示例
import React from 'react';

import { Stateview, Layer, setViewState } from 'stateview';

const Logined = (props: any) => {
  function unlogin() {
    setViewState('unlogin', { name: 'unlogin i5ting' })
  }
  return (<h1>Logined, <button onClick={unlogin}>{props.data.name}</button></h1>)
}

const UnLogin = (props: any) => {
  return (<h1 >UnLogin, <button onClick={props.action}>{props.data.name}</button></h1>)
}

export default (props: any) => {

  function logined() {
    setViewState('logined', { name: 'logined i5ting' })
  }

  return (
    <span>
      <Stateview default='unlogin' data={{ name: 'somename' }}>
        <Layer state='logined' component={<Logined />} />
        <Layer state='unlogin' component={<UnLogin action={logined} />} />
      </Stateview>
    </span>
  );
}
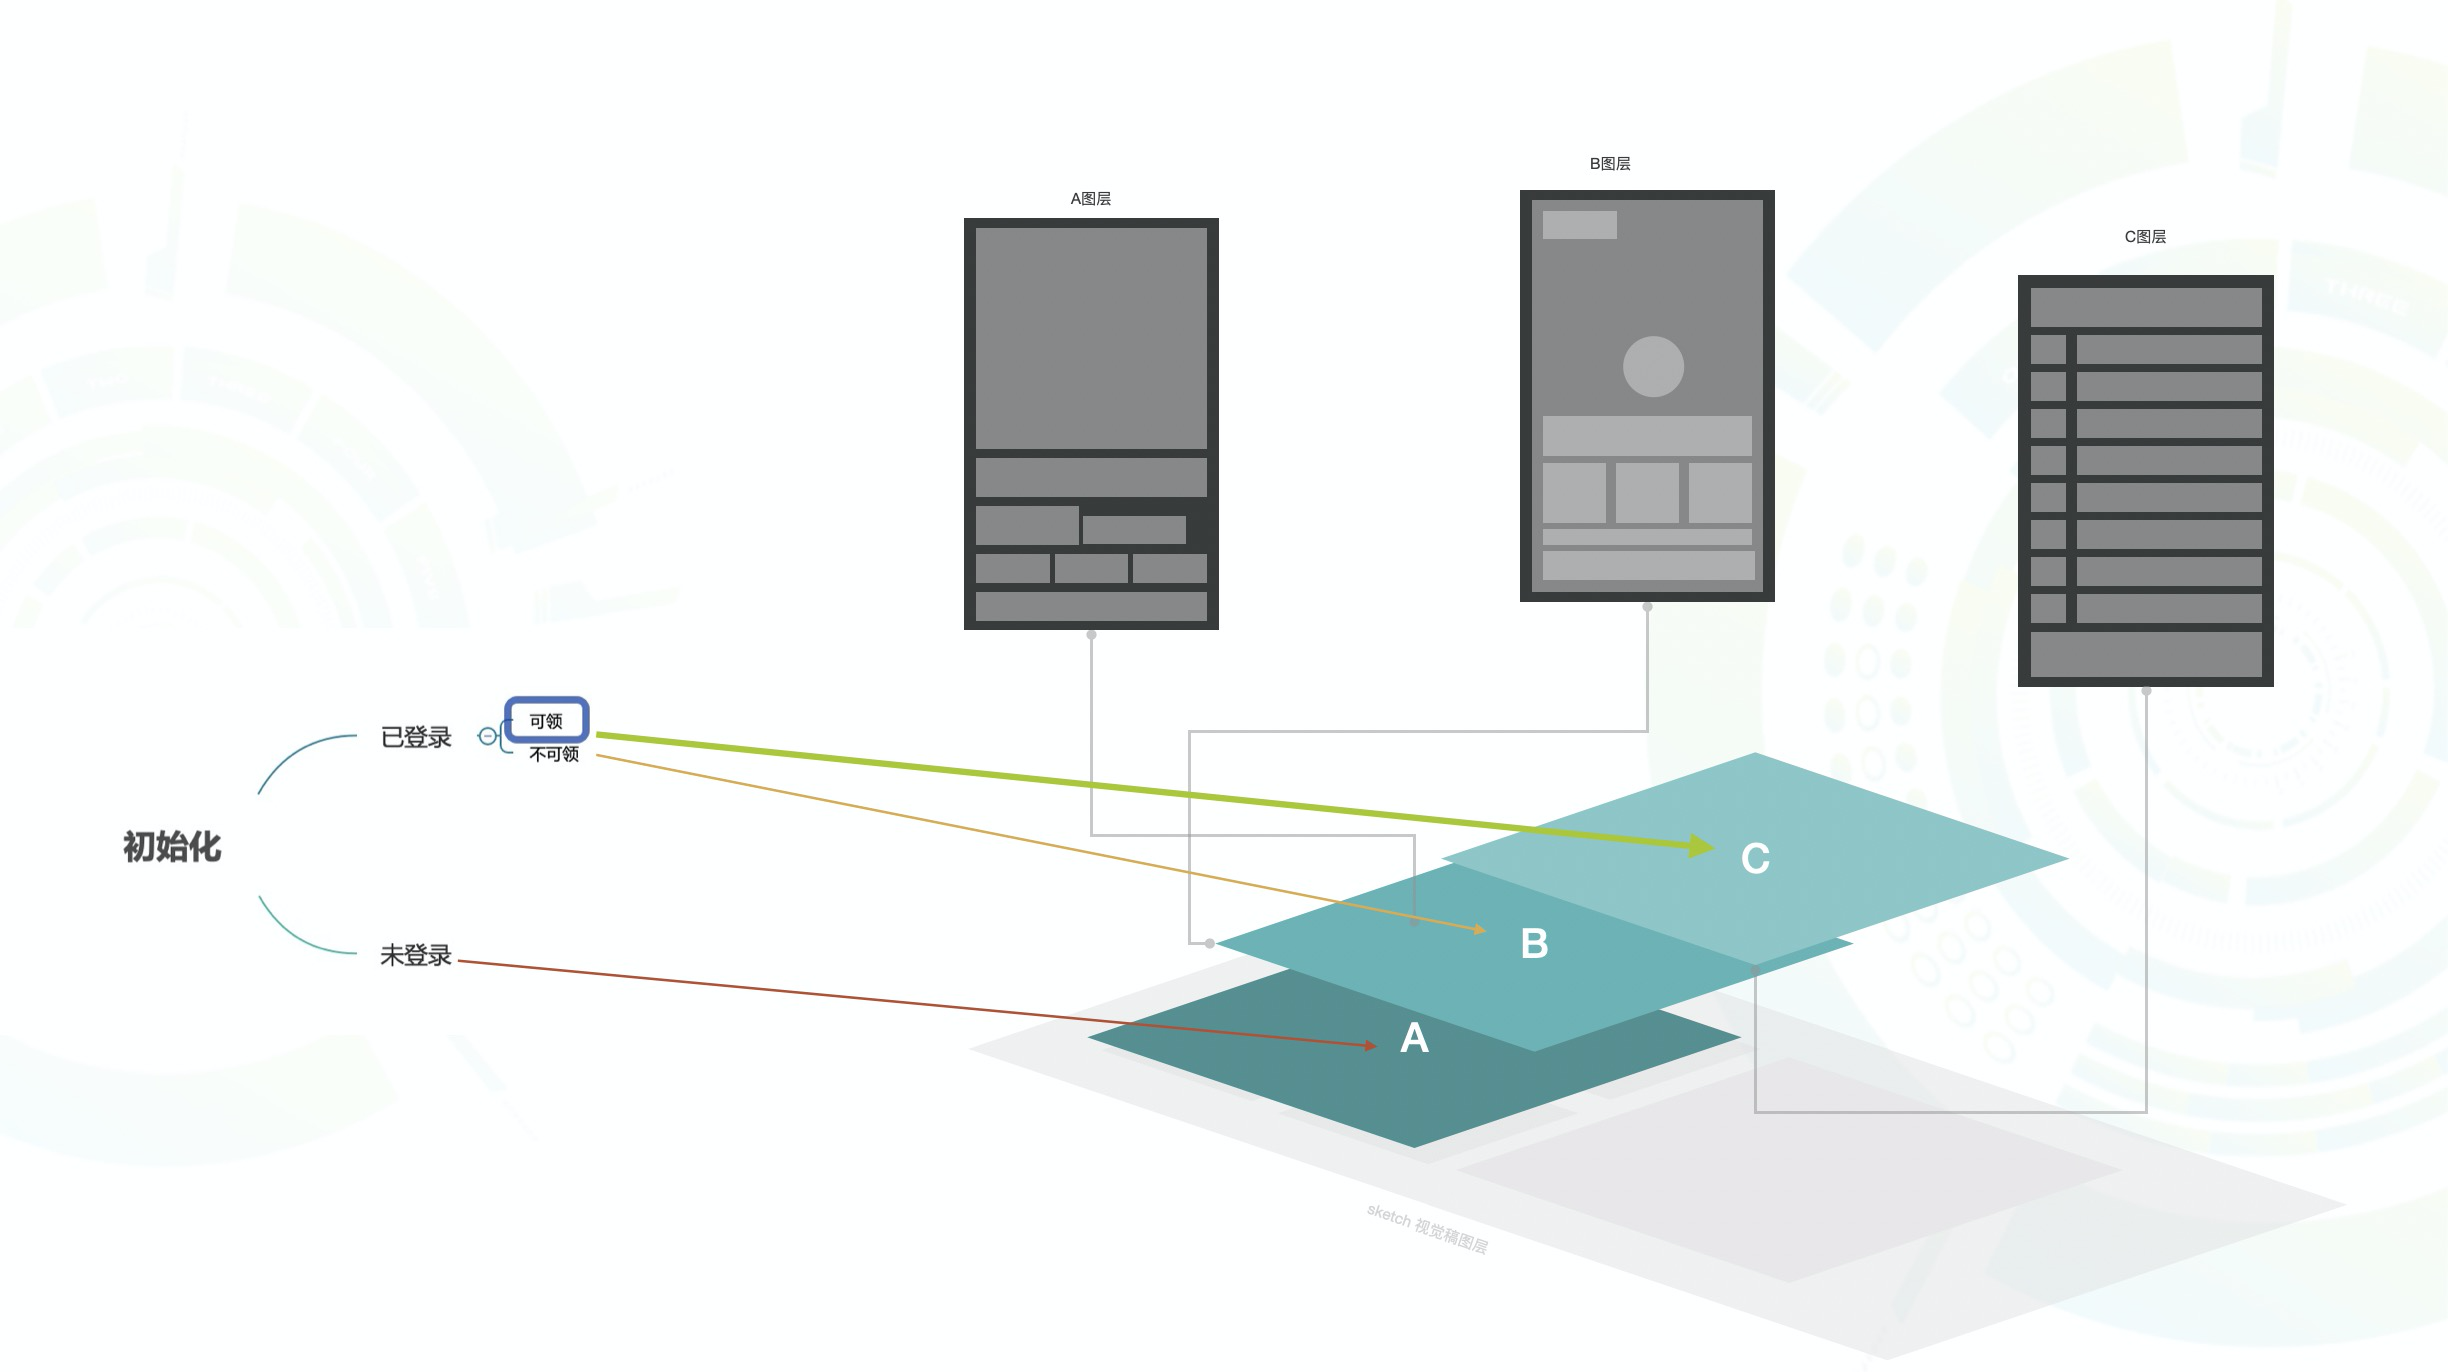
嵌套示例
带嵌套的3个状态示例
- root
    - 已登录logined
        - 可领 candraw
        - 次数不足 notdraw
    - 未登录unlogin
entry
import React from 'react';

import { Stateview, Layer } from 'stateview';
import { Logined, UnLogin } from '../layers/1';

export default () => {
  return (
    <Stateview default='unlogin'>
      <Layer state='logined' component={<Logined name='跳转到未登录状态' />} />
      <Layer state='unlogin' component={<UnLogin name='跳转到登录状态' />} />
    </Stateview>
  );
}
unlogin
import React from 'react';
import { setViewState } from 'stateview';

export function UnLogin(props: any) {

  function sayHello() {
    setViewState('logined')
  }

  return <h1 >UnLogin, <button onClick={sayHello}>{props.name}</button></h1>;
}
logined
import React from 'react';
import { Stateview, Layer, setViewState } from 'stateview';
import { CanDraw, NotDraw } from './logined/index';

export function Logined(props: any) {

  function sayHello() {
    setViewState('unlogin')
  }

  return <>
    <h1>Logined, <button onClick={sayHello}>{props.name}</button></h1>
    <Stateview default='notdraw'>
      <Layer state='candraw' component={<CanDraw name='跳转到未登录状态' />} />
      <Layer state='notdraw' component={<NotDraw name='跳转到可领状态' />} />
    </Stateview>
  </>;
}
分组示例
分组表达,主要解决复杂场景同时存在多个Stateview命名空间冲突问题。通过window.stateview['alfred'],具体方法和window.stateview上的一样。
import React from 'react';

import { Stateview, Layer, getStateview } from 'stateview';

/**
 * 最简单的分组Demo:2个状态切换
 */
export default (props: any) => {

  function unlogin() {
    getStateview('alfred').setViewState('unlogin')
  }

  function logined() {
    getStateview('alfred').setViewState('logined')
  }

  return (
    <Stateview default='unlogin' group='alfred'>
      <Layer state='logined'>
        <h1>Logined, <button onClick={unlogin}>go to UnLogin</button></h1>
      </Layer>
      <Layer state='unlogin'>
        <h1 >UnLogin, <button onClick={logined}>go to Logined</button></h1>
      </Layer>
    </Stateview>
  );
}
文档
运行示例方法
$ npm i
$ npm run dev
参与贡献
- Fork it
- Create your feature branch (
git checkout -b my-new-feature) - Commit your changes (
git commit -am 'Add some feature') - Push to the branch (
git push origin my-new-feature) - Create new Pull Request
Refer to the CONTRIBUTING.
License
Copyright © i5ting. All rights reserved.
Licensed under the MIT license.