README
Terminal Tools
Welcome to the terminal tools package. This package allows you to do some special tricks within your console screen. Currently, you can do the following:
- Render Images
- Play Videos

- Create a loader


- Connect to a server (Including Telnet)

Mute a function
Minify and compile JavaScript Files
The
funcommand- Create a Matrix

- Create a snowstorm

- Create a

Use the unix
bannercommand
#     # ####### #       #       #######
#     # #       #       #       #     #
#     # #       #       #       #     #
####### #####   #       #       #     #
#     # #       #       #       #     #
#     # #       #       #       #     #
#     # ####### ####### ####### #######
- Add a delay to script
Installation
First, install the terminaltools package, using the following command
npm i terminaltools
Next, add terminaltools to your scripts using the require command.
const tools = require("terminaltools")
Using
The following information assumes you have the following code in your scripts
const tools = require("terminaltools")
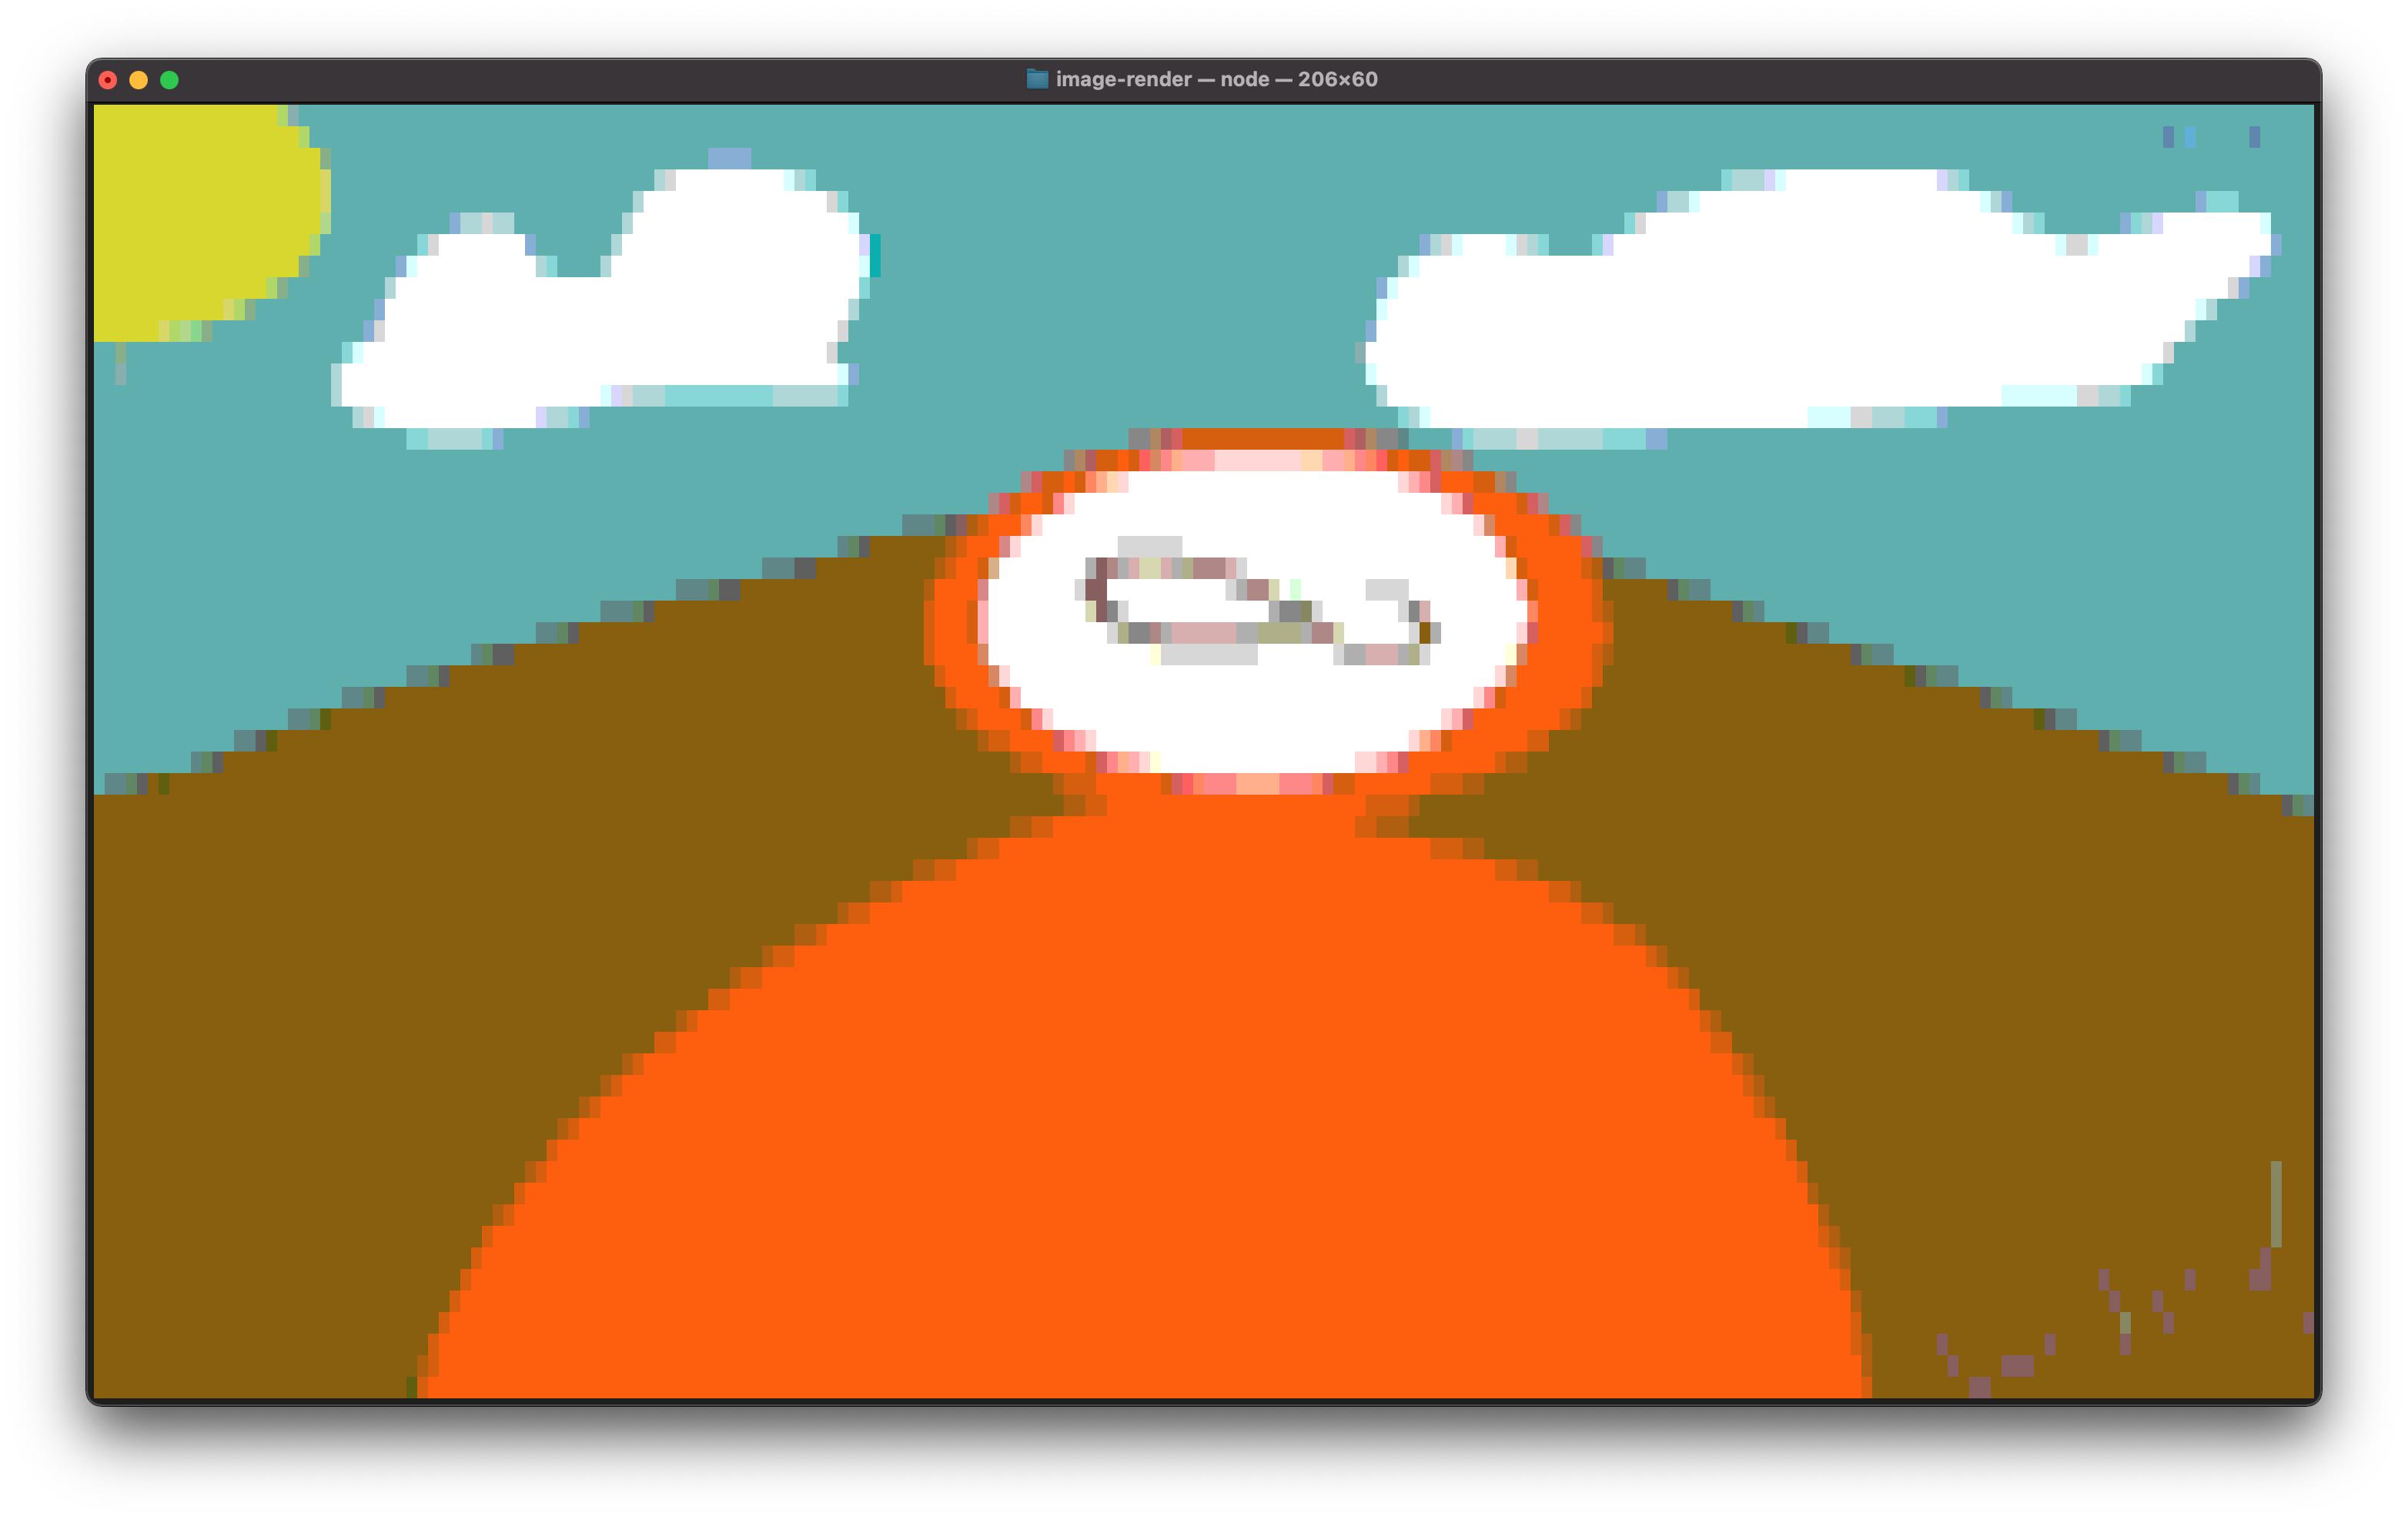
Rendering Images
To render an image, you should use the image function. The function takes 1 parameter, which is the path to the image. The function is asynchronous. and returns the image as a String. After running the function, you can display the image using console.log. (You can use a URL for this function)
Example
var image = await tools.image("image.png")
console.log(image)
Playing Videos
Video playing contains 4 different functions. The first 2 or framify and render. They are split into 2 different functions for speed reasons. Becuase, you can already have frames ready, and have no need to run framify. The third function is called runall, and it runs framify, then render. Now, the 4th function is a special version of render called advrender. (Setting an FPS on the render and advrender functions are optional.)
NOTE Using the buffer function, none of the above is required.
1. framify
The framify function takes a video input and converts it to a folder full of frames. The folder is located in the current working directory. NOTE: Please create a frames folder in the current working directory before running.
Example
await tools.video.framify("sample.mp4")
(You then end up with a folder named frames in the current working directory)
2. render
The render function takes no parameter and MUST be run from the same directory that contains the frames folder.
Example
await tools.video.render(/* FPS Optional */)
3. runall
The runall function runs both of the functions.
Example
await tools.video.runall("sample.mp4")
4. advrender
The advrender function renders the frames in 2 parts, first it pre-renders ALL the frames, then it renders them. The reason for this is it increases the speed of the video, by processing the frames before playback, instead of during the playback.
Examples
await tools.video.advrender(/* FPS Optional */)
5. buffer_render
The buffer function is a special function that does NOT require framifying. The buffer function uses the ffmpeg command directly and outputs it into arraybuffers. Instead of optionally specifying the FPS, you need to specify the lpf, which stands for Length Per Frame. The lpf is the time in milliseconds that each frame will show.
Examples
tools.buffer("sample.mp4",100)
Loader
There are currently 2 loaders available.
1. line
First, create a new instance of loader.line
var line = new tools.loader.line()
Then, you can start and end the loader using start() and stop()
2. pinwheel
First, create a new instance of loader.pinwheel
var pinwheel = new tools.loader.pinwheel()
Then, you can start and end the loader using start() and stop()
3. Dots
First, create a new instance of loader.dots
var dots = new tools.loader.dots()
Then, you can start and end the loader using start() and stop()
Examples
var line = new tools.loader.line()
line.start()
"FUNCTION FUNCTION FUNCTION FUNCTION"
line.end()
var pinwheel = new tools.loader.pinwheel()
pinwheel.start()
"FUNCTION FUNCTION FUNCTION FUNCTION"
pinwheel.end()
var dots = new tools.loader.dots()
dots.start()
"FUNCTION FUNCTION FUNCTION FUNCTION"
dots.end()
Connect to a server
To connect a server, first make a new instance of the server class
var Client = new tools.server()
Next, connect to the server using
Client.connect(host, ip)
If the host is not specified, it will default to towel.blinkenlights.nl, and if the port is not specifed, it will default to 23
Now, you can write messages using the write function
Client.write("Hello!")
Muting a function
You can mute a function, if you don't want the output to be displayed to the user. You can also write output during the function.
To mute a function, run the muter.mute function. (Replace function with the function name)
function run() {
  console.log("Ran!")
}
tools.muter.mute(run)
Or, you can create new function
tools.muter.mute(function() {
  console.log("Ran!")
})
Both of the functions will have NO output.
If you have a longer function, and want to display some kind of message while it is running, use the muter.write function.
tools.muter.write("Written!")
You WILL see the output of that command.
Minifying and combining JavaScript files
To minify javascript, use the tools.minify function
tools.minify([
  "File Path",
  "File Path"
])
The fun commands
The fun commands are fun little tricks, there is a fun.matrix() function and a fun.snow() function. Both can be stopped with fun.stop().
The fun.snow() function creates a snowstorm, and the fun.matrix() creates a matrix (not the math kind.)
The banner command
The banner is a function that takes one input. The input is the string1 to turn into a banner.
var banner = tools.banner("Hello")
console.log(banner)
// Outputs below
#     # ####### #       #       #######
#     # #       #       #       #     #
#     # #       #       #       #     #
####### #####   #       #       #     #
#     # #       #       #       #     #
#     # #       #       #       #     #
#     # ####### ####### ####### #######
The delay command
The delay command adds delay to a script using promises. This function accepts one arguemnt, the delay time in ms. (One second is 1000ms)
console.log('Hello, Wait 3 seconds')
await tools.delay(3000) /* 3000ms = 3 Seconds */
console.log('Its been 3 seconds!')
Footnotes
1: Special characters created using the alt/option key are not supported.