README
ts-image-viewer 🖼️

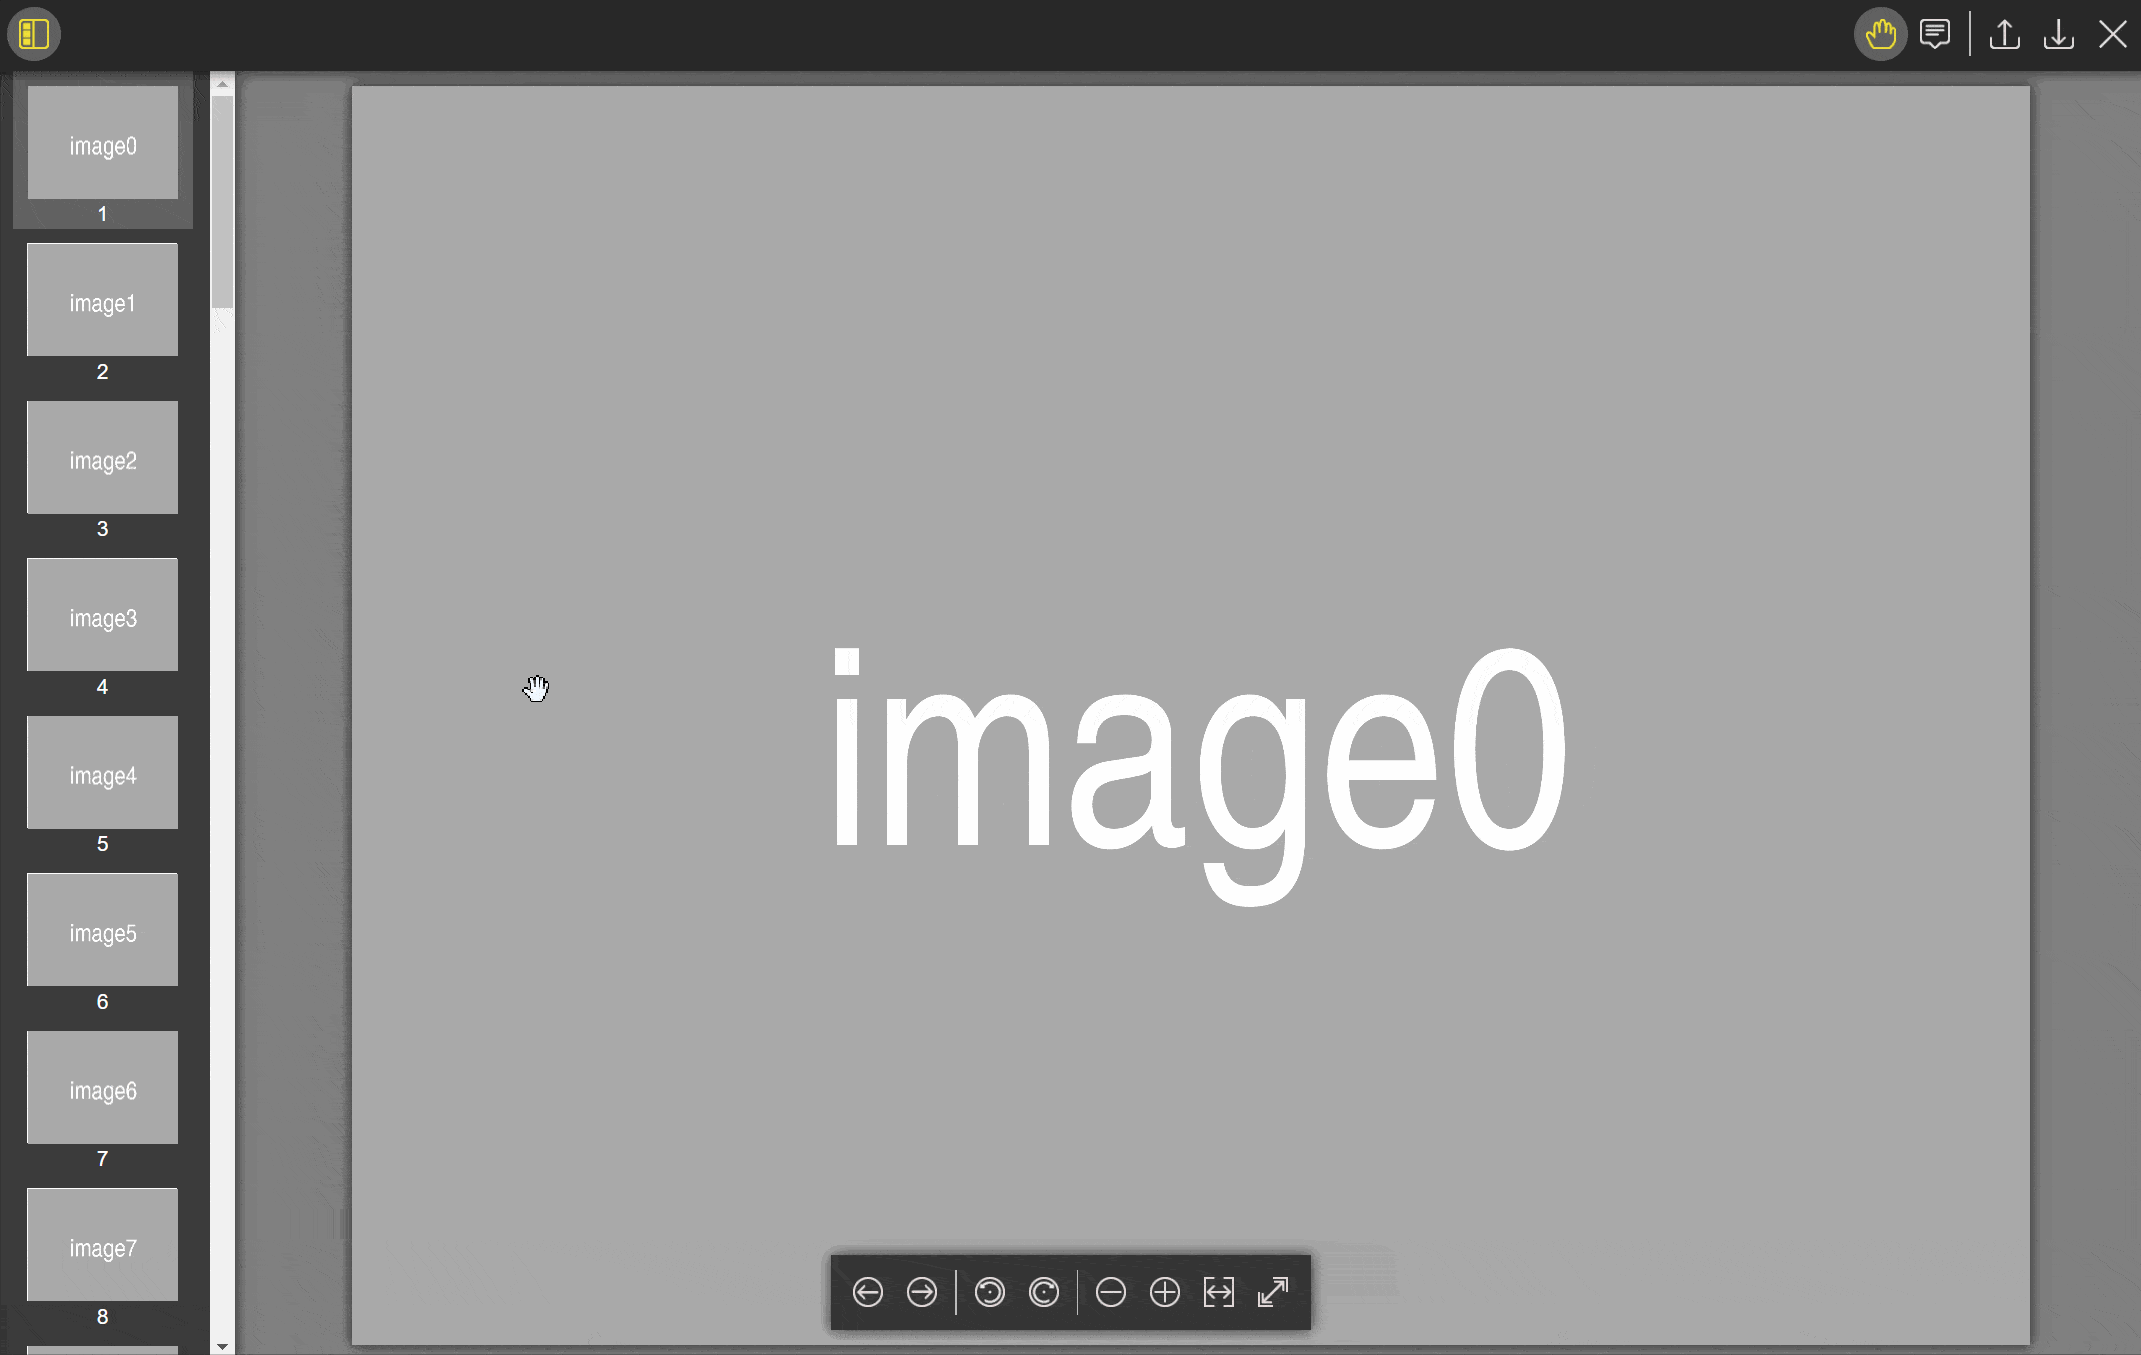
![]()
Features
- Opening and viewing image files
- Adding and editing annotations. User can modify or delete any supported annotation or add new annotations of the supported types by using provided UI. The serialized annotations can be imported or exported at any time using corresponding methods. All changes are made can be saved to a new image file, which can be downloaded or returned to the caller as a byte array.
- Annotation import/export to/from data-transfer objects that can be effortlessly serialized to JSON (useful for storing annotations in the separate database)
- Responsive UI, friendly for touch devices
- Easy color scheme customization using CSS variables to override the default values
- Using Shadow DOM to minimize conflicts with outer HTML
Getting started
Installation into your project
npm install ts-image-viewer
Running the simplest example
import {AnnotEventDetail, TsImageViewer, ImageLoadInfo } from "./ts-image-viewer";

async function run(): Promise<void> {
  const viewer = new TsImageViewer({
    containerSelector: "#your-html-container-selector",
    userName: "your_username",
    fileButtons: ["open", "close"],
    annotChangeCallback: (detail: AnnotEventDetail) => console.log(detail.type),
  });

  // open some placeholder images for testing purposes
  const infos: ImageLoadInfo[] = [];
  for (let i = 0; i < 100; i++) {
    infos.push({
      type: "URL",
      data: `https://via.placeholder.com/4000x3000/aaaaaa/fff.png?text=image${i}`,
      uuid: i + "",
    });
  }
  viewer.openImagesAsync(infos);
}

run();
⚠️for viewer to function properly its container element must have relative, absolute or fixed position!
⚠️saving images loaded using cross-origin requests is limited! you can read more on this here: https://developer.mozilla.org/en-US/docs/Web/HTML/CORS_enabled_image#security_and_tainted_canvases
Changing the color scheme
To apply a custom color scheme to the viewer, assign color values to the following CSS variables. Default values are used for omitted variables.
:root {
  --tsimage-color-primary: rgba(77, 88, 115, 1);
  --tsimage-color-primary-tr: rgba(77, 88, 115, 0.9);
  --tsimage-color-secondary: rgb(113, 133, 150);
  --tsimage-color-secondary-tr: rgba(113, 133, 150, 0.9);
  --tsimage-color-accent: rgba(64, 72, 95, 1);
  --tsimage-color-shadow: rgba(0, 0, 0, 0.75);
  --tsimage-color-bg: rgba(128, 128, 128,1);
  --tsimage-color-fg-primary: rgba(255, 255, 255, 1);
  --tsimage-color-fg-secondary:rgba(187, 187, 187, 1);
  --tsimage-color-fg-accent: rgb(255, 204, 0);
  --tsimage-color-text-selection: rgba(104, 104, 128, 0.3);
}
Keyboard shortcuts
- alt + ctrl + o => open image (if the corresponding button is allowed in options)
- alt + ctrl + s => save current image (if the corresponding button is allowed in options)
- alt + ctrl + x => close opened images (if the corresponding button is allowed in options)
- alt + ctrl + t => toggle preview panel visibility
- alt + ctrl + 2 => hand drag mode
- alt + ctrl + 3 => annotation mode
- escape => clear annotation (in annotation add mode)
- backspace => undo last action (in annotation add mode)
- enter => save annotation (in annotation add mode)
- ctrz + z => undo last annotation edit
- ↑ => zoom in
- ↓ => zoom out
- ← => previous image
- → => next image
- < => rotate left
- > => rotate right
TODO list
- add loading animation
add keyboard shortcutsadded in 0.4.0- add more annotation options
- add tooltips to buttons
- add localizations
- add tests