README
AdonisJS CRUD Generator


This package allows you easily generate admin dashboard for your existing AdonisJS app. The package generates the following:
- Migrations
- Controllers
- Model
- Routes
- Views
Currently Supported
- MySQL
- PostgreSQL
- SQLite
Requirements
- Adonisjs v4
- Node >=8
- Mysql >=5
- PostgreSQL >=10
Dependencies
- Adonis ACL for role and permission management
Installation
You can install the package via NPM:
npm install @shagital/adonisjs-crud-generator
Or with yarn
yarn add @shagital/adonisjs-crud-generator
Setup
- Run
adonis acl:setupto create role permission migrations if you've not already done that - Run
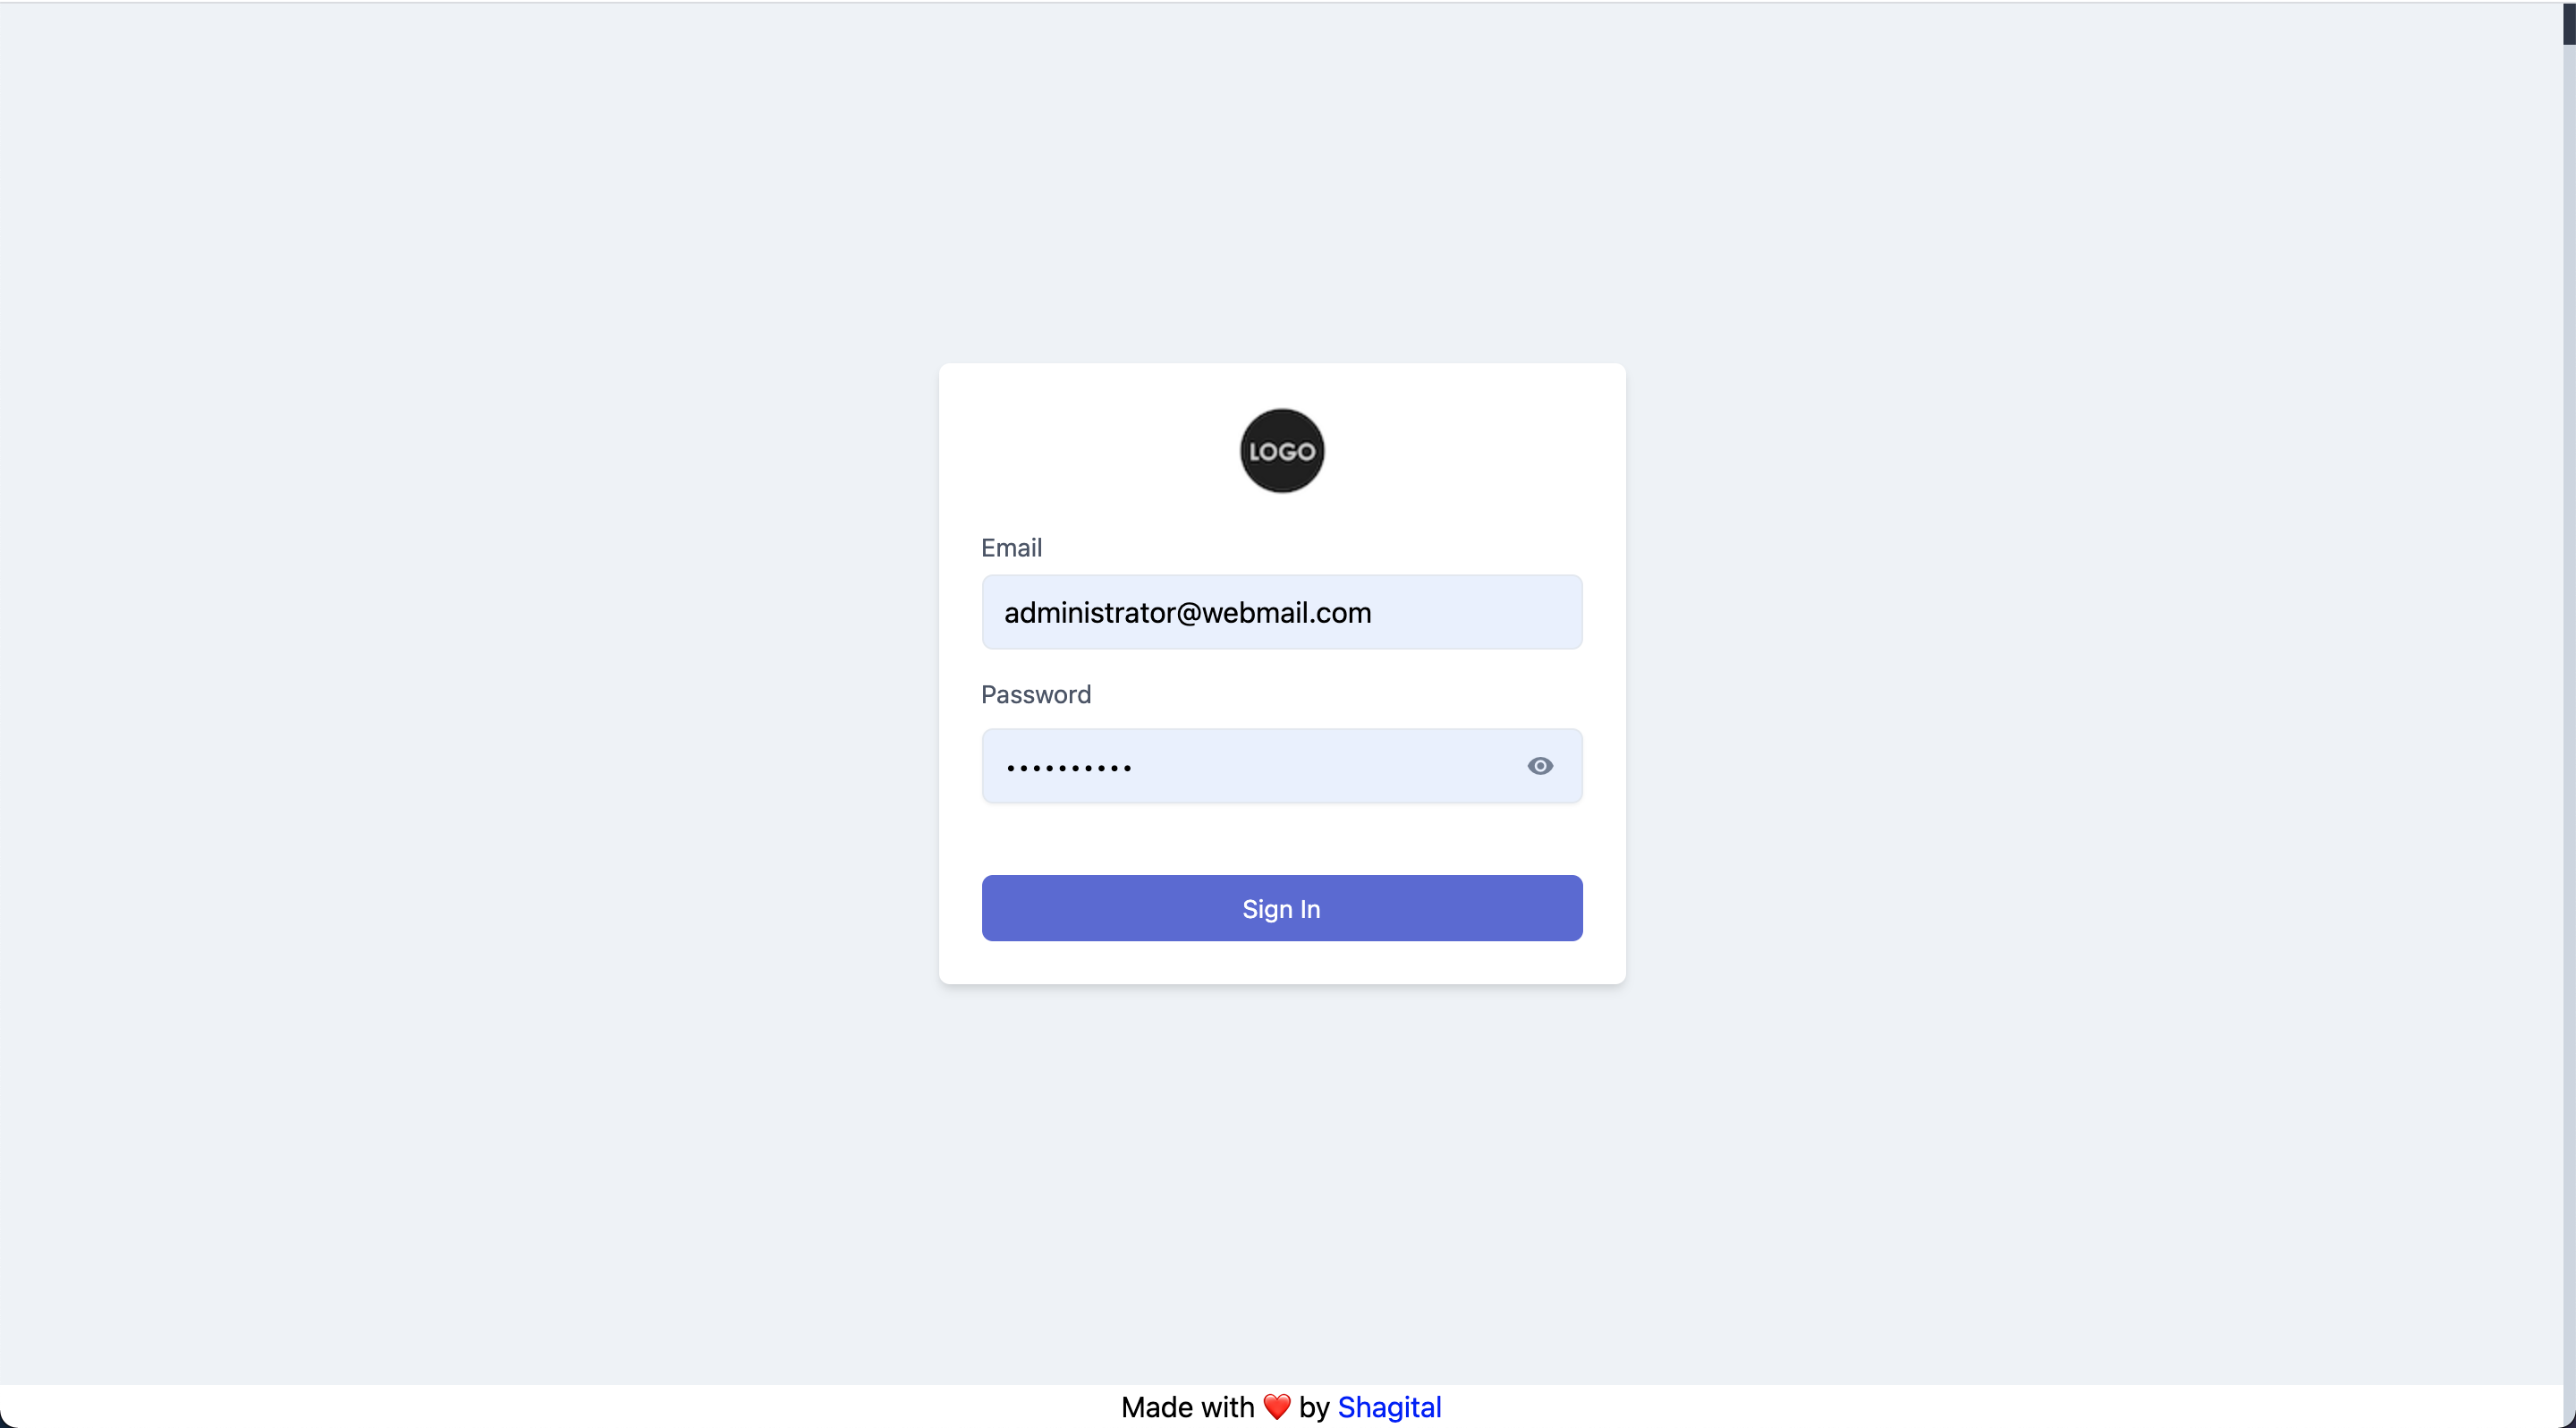
adonis crud:initto generate default files for admin panel. - Default admin password will be shown to you when the command is done. Copy it somewhere for login. In case you forget or need to change it, you can open
database/migrations/admin_default_role_permission.jsto see the password. You can also change password after login - Update
config/crudGeneratorto specify admin model - Add role&permission traits to admin User model:
static get traits () {
    return [
      '@provider:Adonis/Acl/HasRole',
      '@provider:Adonis/Acl/HasPermission'
    ]
  }
adonis key:generateto generate App key- Configure authentication
To use API:
- Open
config/auth.jsand change authenticator tojwt - Open
config/shield.js. Under csrf section, set enable tofalse
To use views:
- Open
config/auth.jsand change authenticator tosession - Open
config/shield.js. Under csrf section, set enable totrue - Don't forget to uncomment the view codes in the generated controller files
- Open
start/kernel.jsand make sure'Adonis/Acl/Init'is in the globalMiddleware array - In
start/kernel.js, add the following tonamedMiddleware:
is: 'Adonis/Acl/Is',
can: 'Adonis/Acl/Can',
requestType:'App/Middleware/RequestTypeMiddleware'
- In
start/app.js, make sure the following exists inprovidersarray:
'adonis-acl/providers/AclProvider',
'@adonisjs/validator/providers/ValidatorProvider'
- In
start/app.js, add the following to alias array:
Role: 'Adonis/Acl/Role',
Permission: 'Adonis/Acl/Permission',
- In
start/app.js, add the following tocommandsarray:
'@shagital/crud-generator/src/Commands/CrudInitCommand',
'@shagital/crud-generator/src/Commands/CrudGeneratorCommand',
'@shagital/crud-generator/src/Commands/PermissionMigrationGeneratorCommand',
'@shagital/crud-generator/src/Commands/ControllerGeneratorCommand',
'@shagital/crud-generator/src/Commands/ModelGeneratorCommand',
'@shagital/crud-generator/src/Commands/ViewGeneratorCommand',
- The default admin email is
administrator@webmail.com. You can change the email before running migration - Run migration
adonis migration:runto create admin user and set up roles and permissions - Start your adonis app
adonis serve - Cd to the vue app directory
cd /resources/views/admin - Run
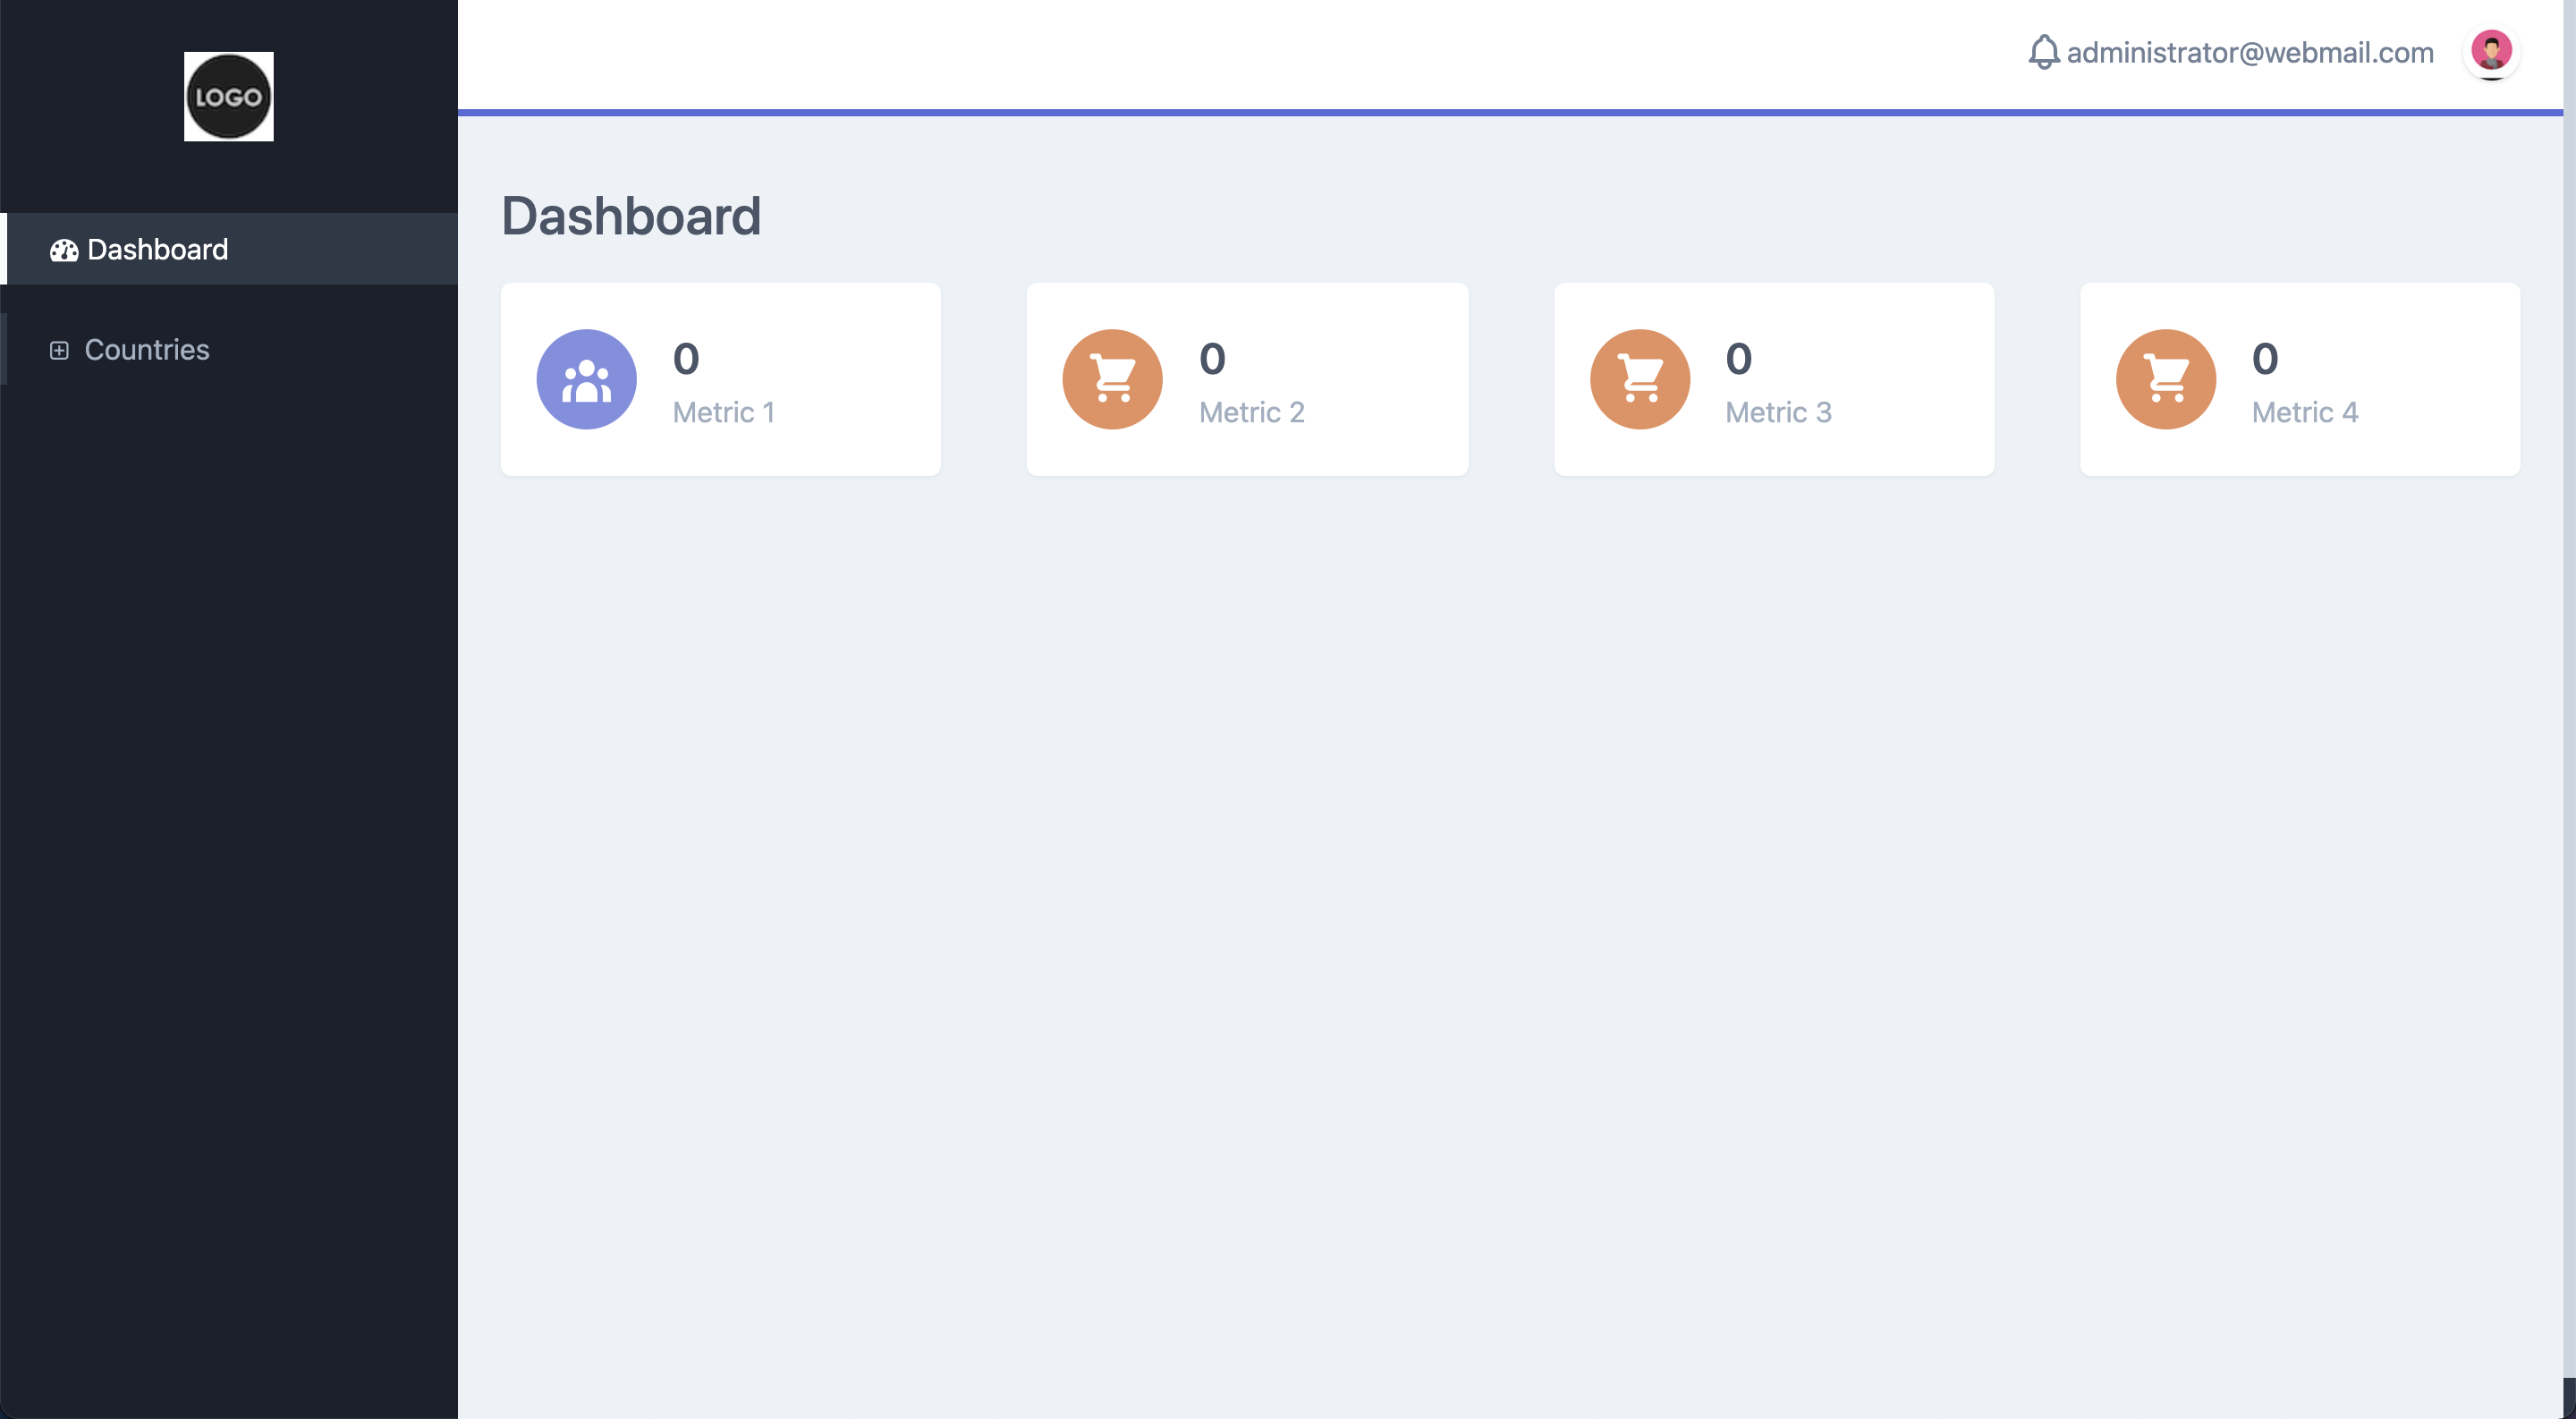
npm installoryarn installto install dependencies - At this point, your admin dashboard should be ready to use
- Run
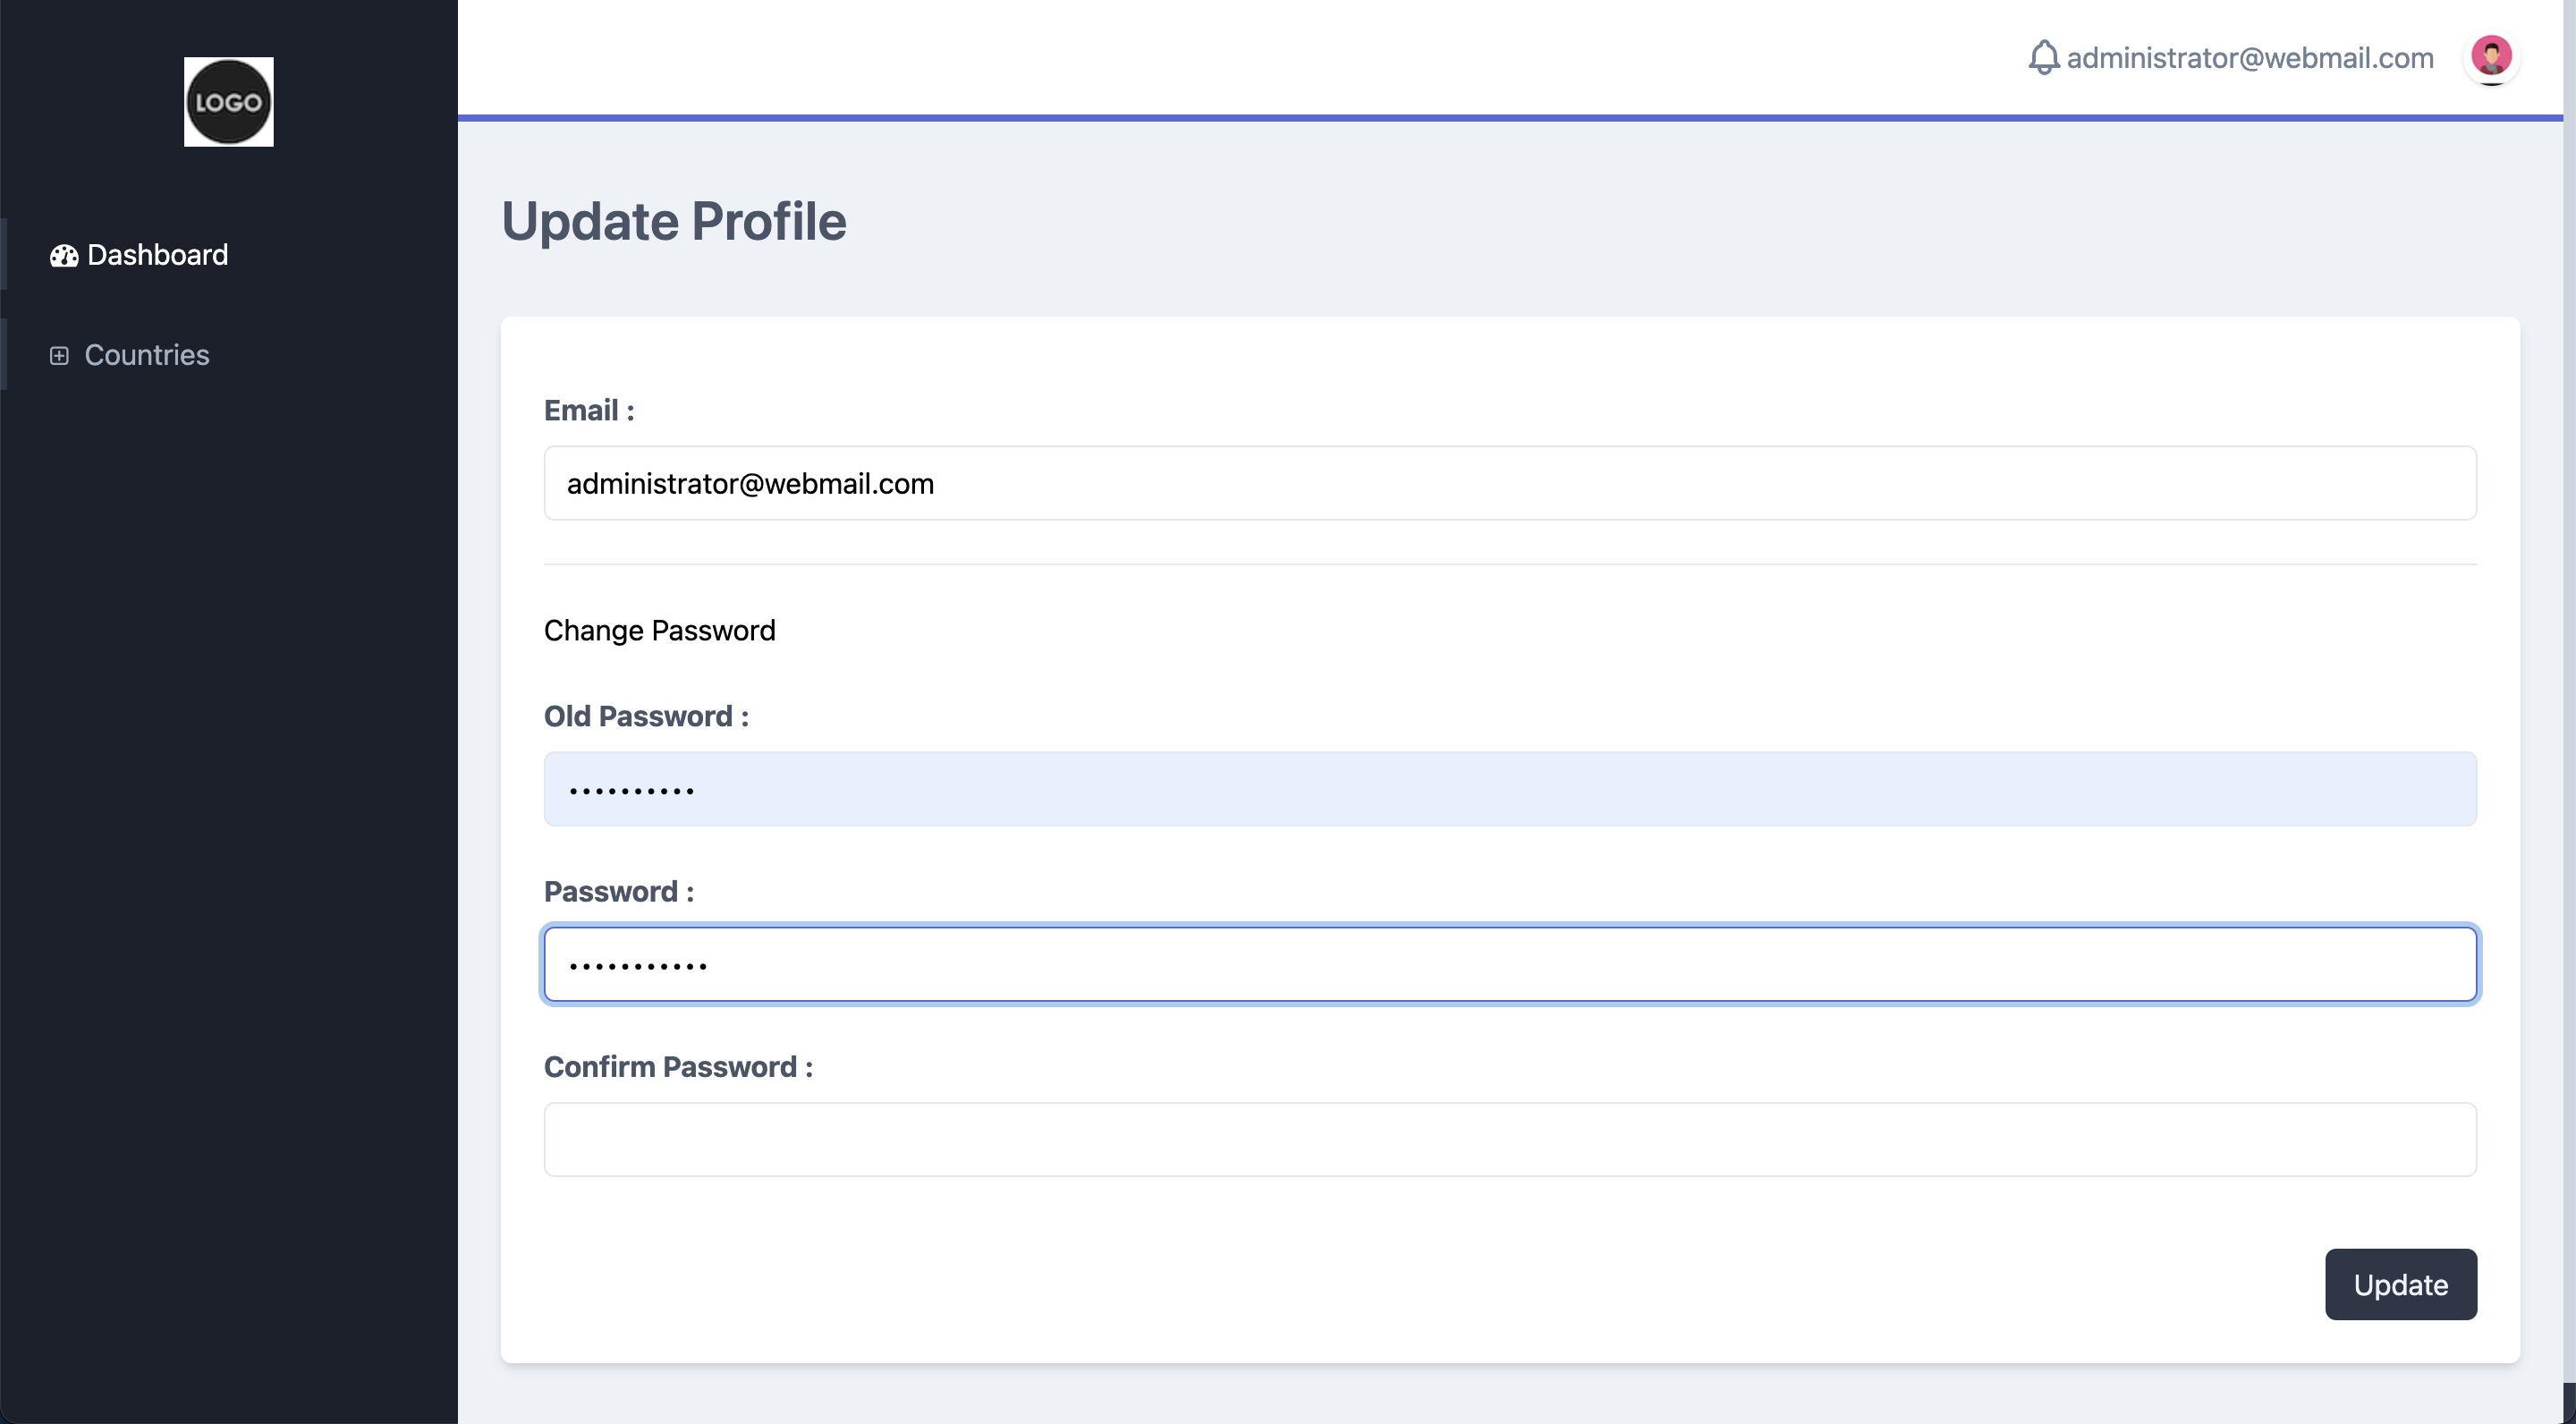
npm run devoryarn devto start the admin app in development mode - You should be able to change your password after successful login
Usage
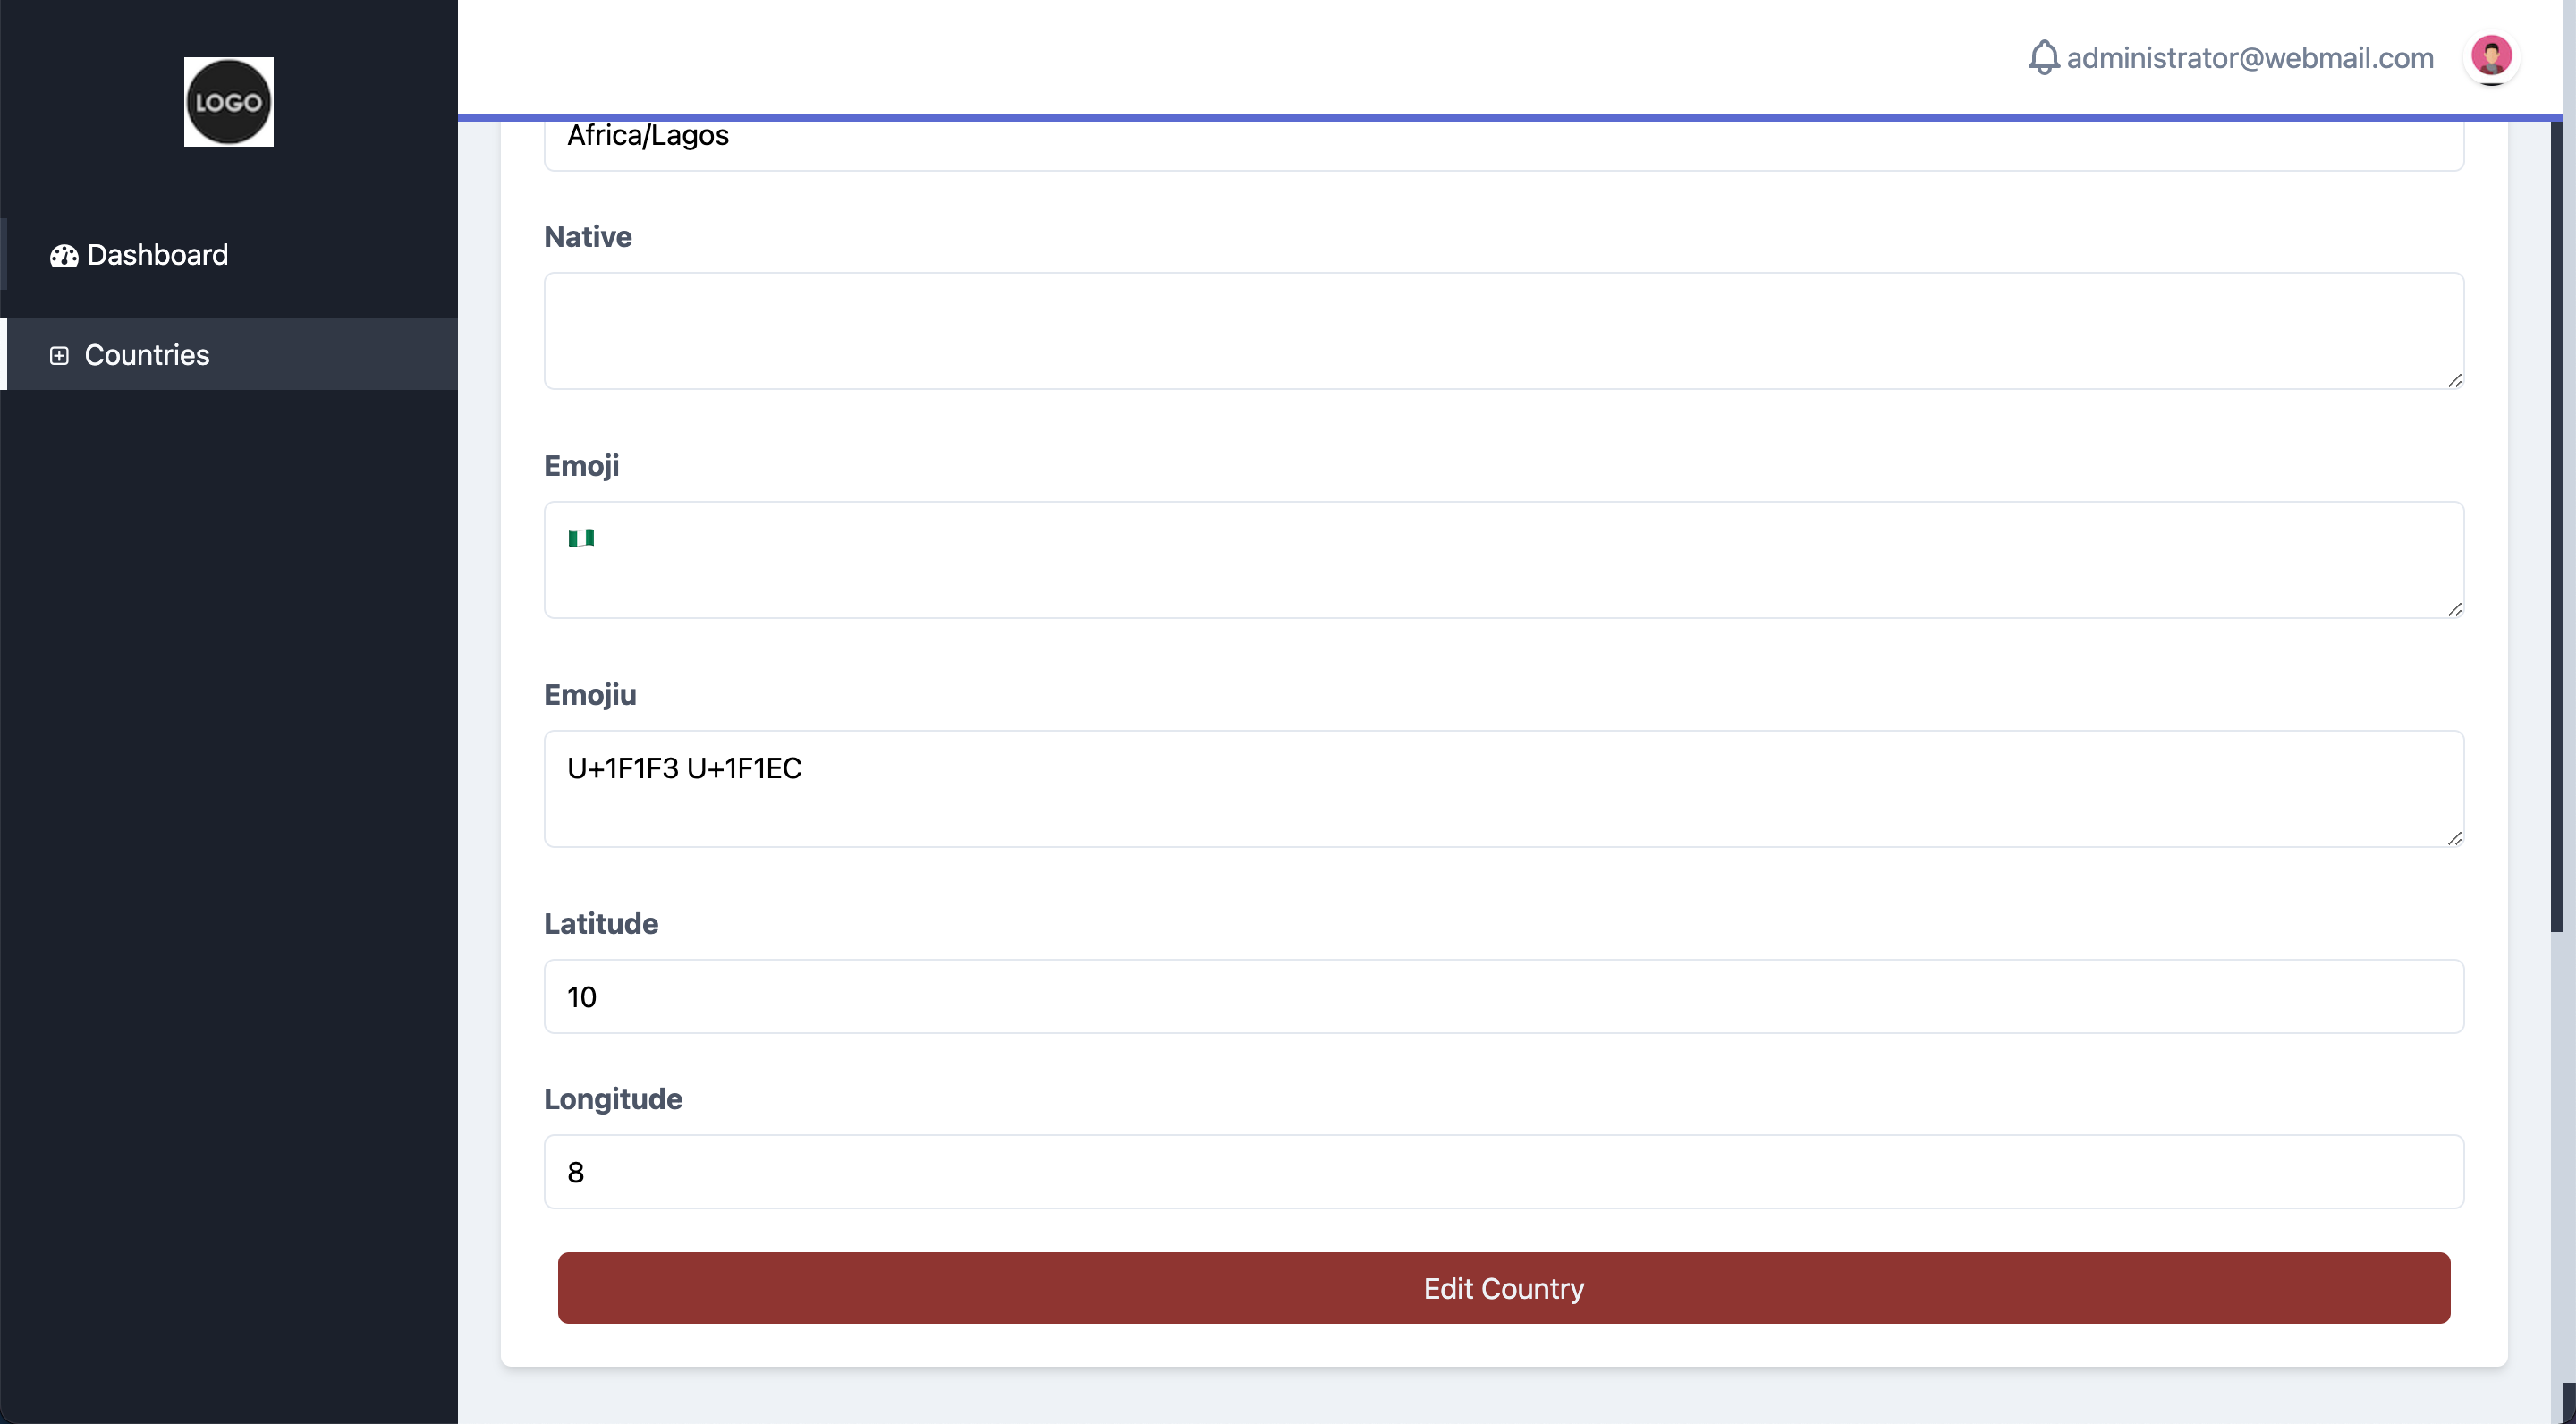
To generate CRUD management for table regions, run adonis crud:generate regions and the following will be created
- Controller
app/Controllers/Http/Admin/RegionController start/routes.jsfile will be updated with new routesRegionmodel will be created with appropriate relationships, getters, setters and hooks- A migration file will be generated to add new permissions for the admin
- Vue files will be generated and sidebar will be updated with new links
Navigate to your app and you should see the Region menu on the sidebar
Available Commands
adonis crud:controller tableName: This creates controller file and routeadonis crud:model tableName: This creates model file with relationshipsadonis crud:permission tableName: This creates migration file for crud permissionsadonis crud:view tableName: This creates vue filesadonis crud:init tableName: This runs all of the above commands
Options
--connection: This option allows you specify which DB connection to use for the command e.gadonis crud:controller tableName --connection=sqlite
NB: The connection must have been defined in
config/database.js
--migrate: This option is available for thecrud:generateandcrud:permissioncommands. It tells the system to automatically run the migration after creation.--prefix: This option is available when initialising the CRUD withcrud:init. It allows you specify a prefix for the admin endpoints that'll be created. If not specified, the system generates a random prefix
Production
Run npm run build or yarn build
- Your view app should be available on
http:<BASE_URL>/admin
Note: In running the commands, if you don't have adonis CLI installed globally, you can use
node aceinstead. For example, to generate CRUD for table posts, runnode ace crud:generate posts
Error
If an error occurs while executing any of the command, it'll crash. Simply check your log to find out what went wrong - likely a file/directory permission issue, then run the command again.
Note: Except otherwise stated, the commands always overwrite existing files (with same name)
Screenshots

Todo
- Add tests
- Add support for React
Contributing
If you have a feature you'd like to add, kindly send a Pull Request (PR)
Security
If you discover any security related issues, please email zacchaeus@shagital.com instead of using the issue tracker.
Credits
License
The MIT License (MIT). Please see License File for more information.