README
puppeteer-cucumber-js
![]()

![]()
Browser Automation framework using puppeteer and cucumber-js.
Works with Chrome, Firefox, Microsoft Edge and Brave.
Table of Contents
Installation
npm install puppeteer-cucumber-js
Usage
node ./node_modules/puppeteer-cucumber-js/index.js # path to the module within your project
Options
--tags <@tagname>               # cucumber @tag name to run
--featureFiles <path>           # comma-separated list of feature files or path to directory
--browser <name>                # browser to use (chrome, firefox, edge, brave). default chrome
--browserPath <path>            # optional path to a browser executable
--browser-teardown <optional>   # browser cleanup after each scenario (always, clear, none). default always
--headless                      # run browser in headless mode. defaults to false
--devTools                      # open dev tools with each page. default false
--noScreenshot                  # disable auto capturing of screenshots with errors
--disableLaunchReport           # disable auto opening the browser with test report
--timeOut <n>                   # steps definition timeout in milliseconds. defaults 10 seconds
--worldParameters <JSON>        # JSON object to pass to cucumber-js world constructor
--version                       # outputs puppeteer-cucumber-js version number
--help                          # list puppeteer-cucumber-js options
--failFast                      # abort the run on first failure
--slowMo <n>                    # specified amount of milliseconds to slow down Puppeteer operations by. defaults to 10 ms
--networkSpeed <name>           # simulate network speed (gprs, 2g, 3g, 4g, dsl, wifi). default off
Browser teardown strategy
The browser automatically closes after each scenario to ensure the next scenario uses a fresh browser environment. You can change this behavior using the --browser-teardown switch, options are:
| Value | Description |
|---|---|
always |
the browser automatically closes (default) |
clear |
the browser automatically clears cookies, local and session storages |
none |
the browser does nothing |
Directory structure
Your files must live in a features folder within the root of your project:
.
└── features
    ├── google-search.feature
    └── step-definitions
    │   └── google-search-steps.js
    ├── page-objects
    │   └── google-search.js
    ├── shared-objects
    │   └── test-data.js
    └── reports                     # folder and content automatically created when tests run
        ├── cucumber-report.html
        ├── cucumber-report.json
        └── junit-report.xml
Feature files
A Feature file is a Business Readable file that lets you describe software behavior without detailing how that behavior is implemented. Feature files are written using the Gherkin syntax.
Feature: Searching for a barcode scanner app

  Scenario: Google search for barcode scanner app
    Given I am online at google.co.uk
    When I search Google for "barcode scanner app"
    Then I should see "Orca Scan" in the results

  Scenario: Google search for Orca Scan
    Given I am online at google.co.uk
    When I search Google for "Orca Scan"
    Then I should see "Orca Scan" in the results
Step definitions
Step definitions act as the glue between features files and the actual system under test. To avoid confusion always return a JavaScript promise from step definitions to let cucumber know when your task has completed.
this.Given(/^I am online at google.co.uk/, function() {

    // use the ./page-objects/google-search.js url property
    return helpers.loadPage(pageObjects.googleSearch.url);
});

this.When(/^I search Google for "([^"]*)"$/, function (searchQuery) {

    // execute ./page-objects/google-search.js preformSearch method
    return pageObjects.googleSearch.preformSearch(searchQuery);
});

this.Then(/^I should see "([^"]*)" in the results$/, function (keywords) {

    // resolves if an item on the page contains text
    return helpers.waitForLinkText(keywords, false, 30);
});
The following variables are available within the Given(), When() and Then() functions:
| Variable | Description |
|---|---|
helpers |
a collection of helper methods things puppeteer does not provide but maybe should |
puppeteer |
the raw puppeteer object |
browser |
instance of the puppeteer browser object |
page |
instance of the puppeteer page object |
pageObjects |
collection of page objects loaded from disk and keyed by filename |
shared |
collection of shared objects loaded from disk and keyed by filename |
trace |
handy trace method to log console output with increased visibility |
assert |
instance of chai assert to assert.isOk('everything', 'everything is ok') |
expect |
instance of chai expect to expect('something').to.equal('something') |
Page objects
Page objects allow you to define information about a specific page in one place such as selector, methods etc. These objects are accessible from within your step definition files and help to reduce code duplication. Should your page change, you can fix your tests by modifying the selectors in one location.
You can access page object properties and methods via a global pageObject variable. Page objects are loaded from ./features/page-objects folder and are exposed as a camel-cased version of their filename, for example ./page-objects/google-search.js becomes pageObjects.googleSearch. You can also use subdirectories, for example ./page-objects/dir/google-search.js becomes pageObjects.dir.googleSearch.
Page objects also have access to the same runtime variables available to step definitions.
An example page object:
let image;
module.exports = {

    url: 'http://www.google.co.uk',

    selectors: {
        searchInput: '[name="q"]',
        searchResultLink: 'a > h3 > span',
        cookieIFrame: 'iframe[src*="consent.google.com"]',
        cookieAgreeButton: '#introAgreeButton > span > span'
    },

    /**
     * enters a search term into Google's search box and presses enter
     * @param {string} searchQuery - phrase to search google with
     * @returns {Promise} a promise to enter the search values
     */
    preformSearch: async function (searchQuery) {
        image = searchQuery;
        // get the selector above (pageObjects.googleSearch is this object)
        var selector = pageObjects.googleSearch.selectors.searchInput;
        await helpers.takeImage(`${image}_1-0.png`);

        // accept Googles `Before you continue` cookie dialog
        await helpers.clickElementWithinFrame(pageObjects.googleSearch.selectors.cookieIFrame, pageObjects.googleSearch.selectors.cookieAgreeButton);

        // set focus to the search box
        await page.focus(selector);

        // enter the search query
        await page.keyboard.type(searchQuery, { delay: 100 });

        // press enter
        await helpers.compareImage(`${image}_1-0.png`);
        return page.keyboard.press('Enter');
    }
};
Shared objects
Shared objects allow you to share anything from test data to helper methods throughout your project via a global sharedObjects object. Shared objects are automatically loaded from ./features/shared-objects/ and made available via a camel-cased version of their filename, for example ./features/shared-objects/test-data.js becomes sharedObjects.testData. You can also use subdirectories, for example ./features/shared-objects/dir/test-data.js becomes sharedObjects.dir.testData.
Shared objects also have access to the same runtime variables available to step definitions.
An example shared object:
module.exports = {
    username: "import-test-user",
    password: "import-test-pa**word"
}
And its usage within a step definition:
module.exports = function () {

    this.Given(/^I am logged in"$/, function () {

        // set focus to username
        await page.focus('#username');

        // type username
        await page.keyboard.type(sharedObjects.testData.username);

        // set focus to password
        await page.focus('#password');

        // type password
        await page.keyboard.type(sharedObjects.testData.password);

        // press enter (submit form)
        return page.keyboard.press('Enter');
    });
};
Helpers
Helpers are globally defined helper methods that simplify working with puppeteer:
// Load a URL, returning only when all network activity has finished
helpers.loadPage('http://www.google.com');

// Open a URL in a new tab or switch to the tab that already has it open and
// set it's instance as the global page variable.
helpers.openPage('http://www.yahoo.com');

// Removes an element from the dom
helpers.removeElement('p > span');

// Waits for text to appear on the page
helpers.waitForLinkText('Orca Scan', false, 30);

// Waits for the browser to fire an event (including custom events)
helpers.waitForEvent('app-ready');

// Gets an element within an iframe
helpers.getElementWithinFrame('iframe[src*="consent.google.com"]', '#introAgreeButton > span > span');

// Clicks an element within an iframe
helpers.clickElementWithinFrame('iframe[src*="consent.google.com"]', '#introAgreeButton > span > span');

// Removes all browser cookies
helpers.clearCookies();

// Clears localStorage
helpers.clearLocalStorage();

// Clears sessionStorage
helpers.clearSessionStorage();

// Clears cookies and storage
helpers.clearCookiesAndStorages();

// Stop the browser in debug mode (must have DevTools open)
helpers.debug()

// take image for comparisson
helpers.takeImage('image_1-0.png', ['dynamic elements to hide']);

// compare taken image with baseline image
helpers.compareImage('image_1-0.png');
Before/After hooks
You can register before and after handlers for features and scenarios:
| Event | Example |
|---|---|
| BeforeFeature | this.BeforeFeatures(function(feature, callback) {}) |
| AfterFeature | this.AfterFeature(function(feature, callback) {}); |
| BeforeScenario | this.BeforeScenario(function(scenario, callback) {}); |
| AfterScenario | this.AfterScenario(function(scenario, callback) {}); |
module.exports = function () {

    // add a before feature hook
    this.BeforeFeature(function(feature, done) {
        console.log('BeforeFeature: ' + feature.getName());
        done();
    });

    // add an after feature hook
    this.AfterFeature(function(feature, done) {
        console.log('AfterFeature: ' + feature.getName());
        done();
    });

    // add before scenario hook
    this.BeforeScenario(function(scenario, done) {
        console.log('BeforeScenario: ' + scenario.getName());
        done();
    });

    // add after scenario hook
    this.AfterScenario(function(scenario, done) {
        console.log('AfterScenario: ' + scenario.getName());
        done();
    });
};
Visual Regression
Visual regression testing, the ability to compare a whole page screenshots or of specific parts of the application / page under test. If there is dynamic content (i.e. a clock), hide this element by passing the selector (or an array of selectors, comma separated) to the takeImage function.
// usage within page-object file:
  await helpers.takeImage(fileName, [elementsToHide, elementsToHide]);
  await page.waitForTimeout(100);
  await helpers.compareImage(fileName);
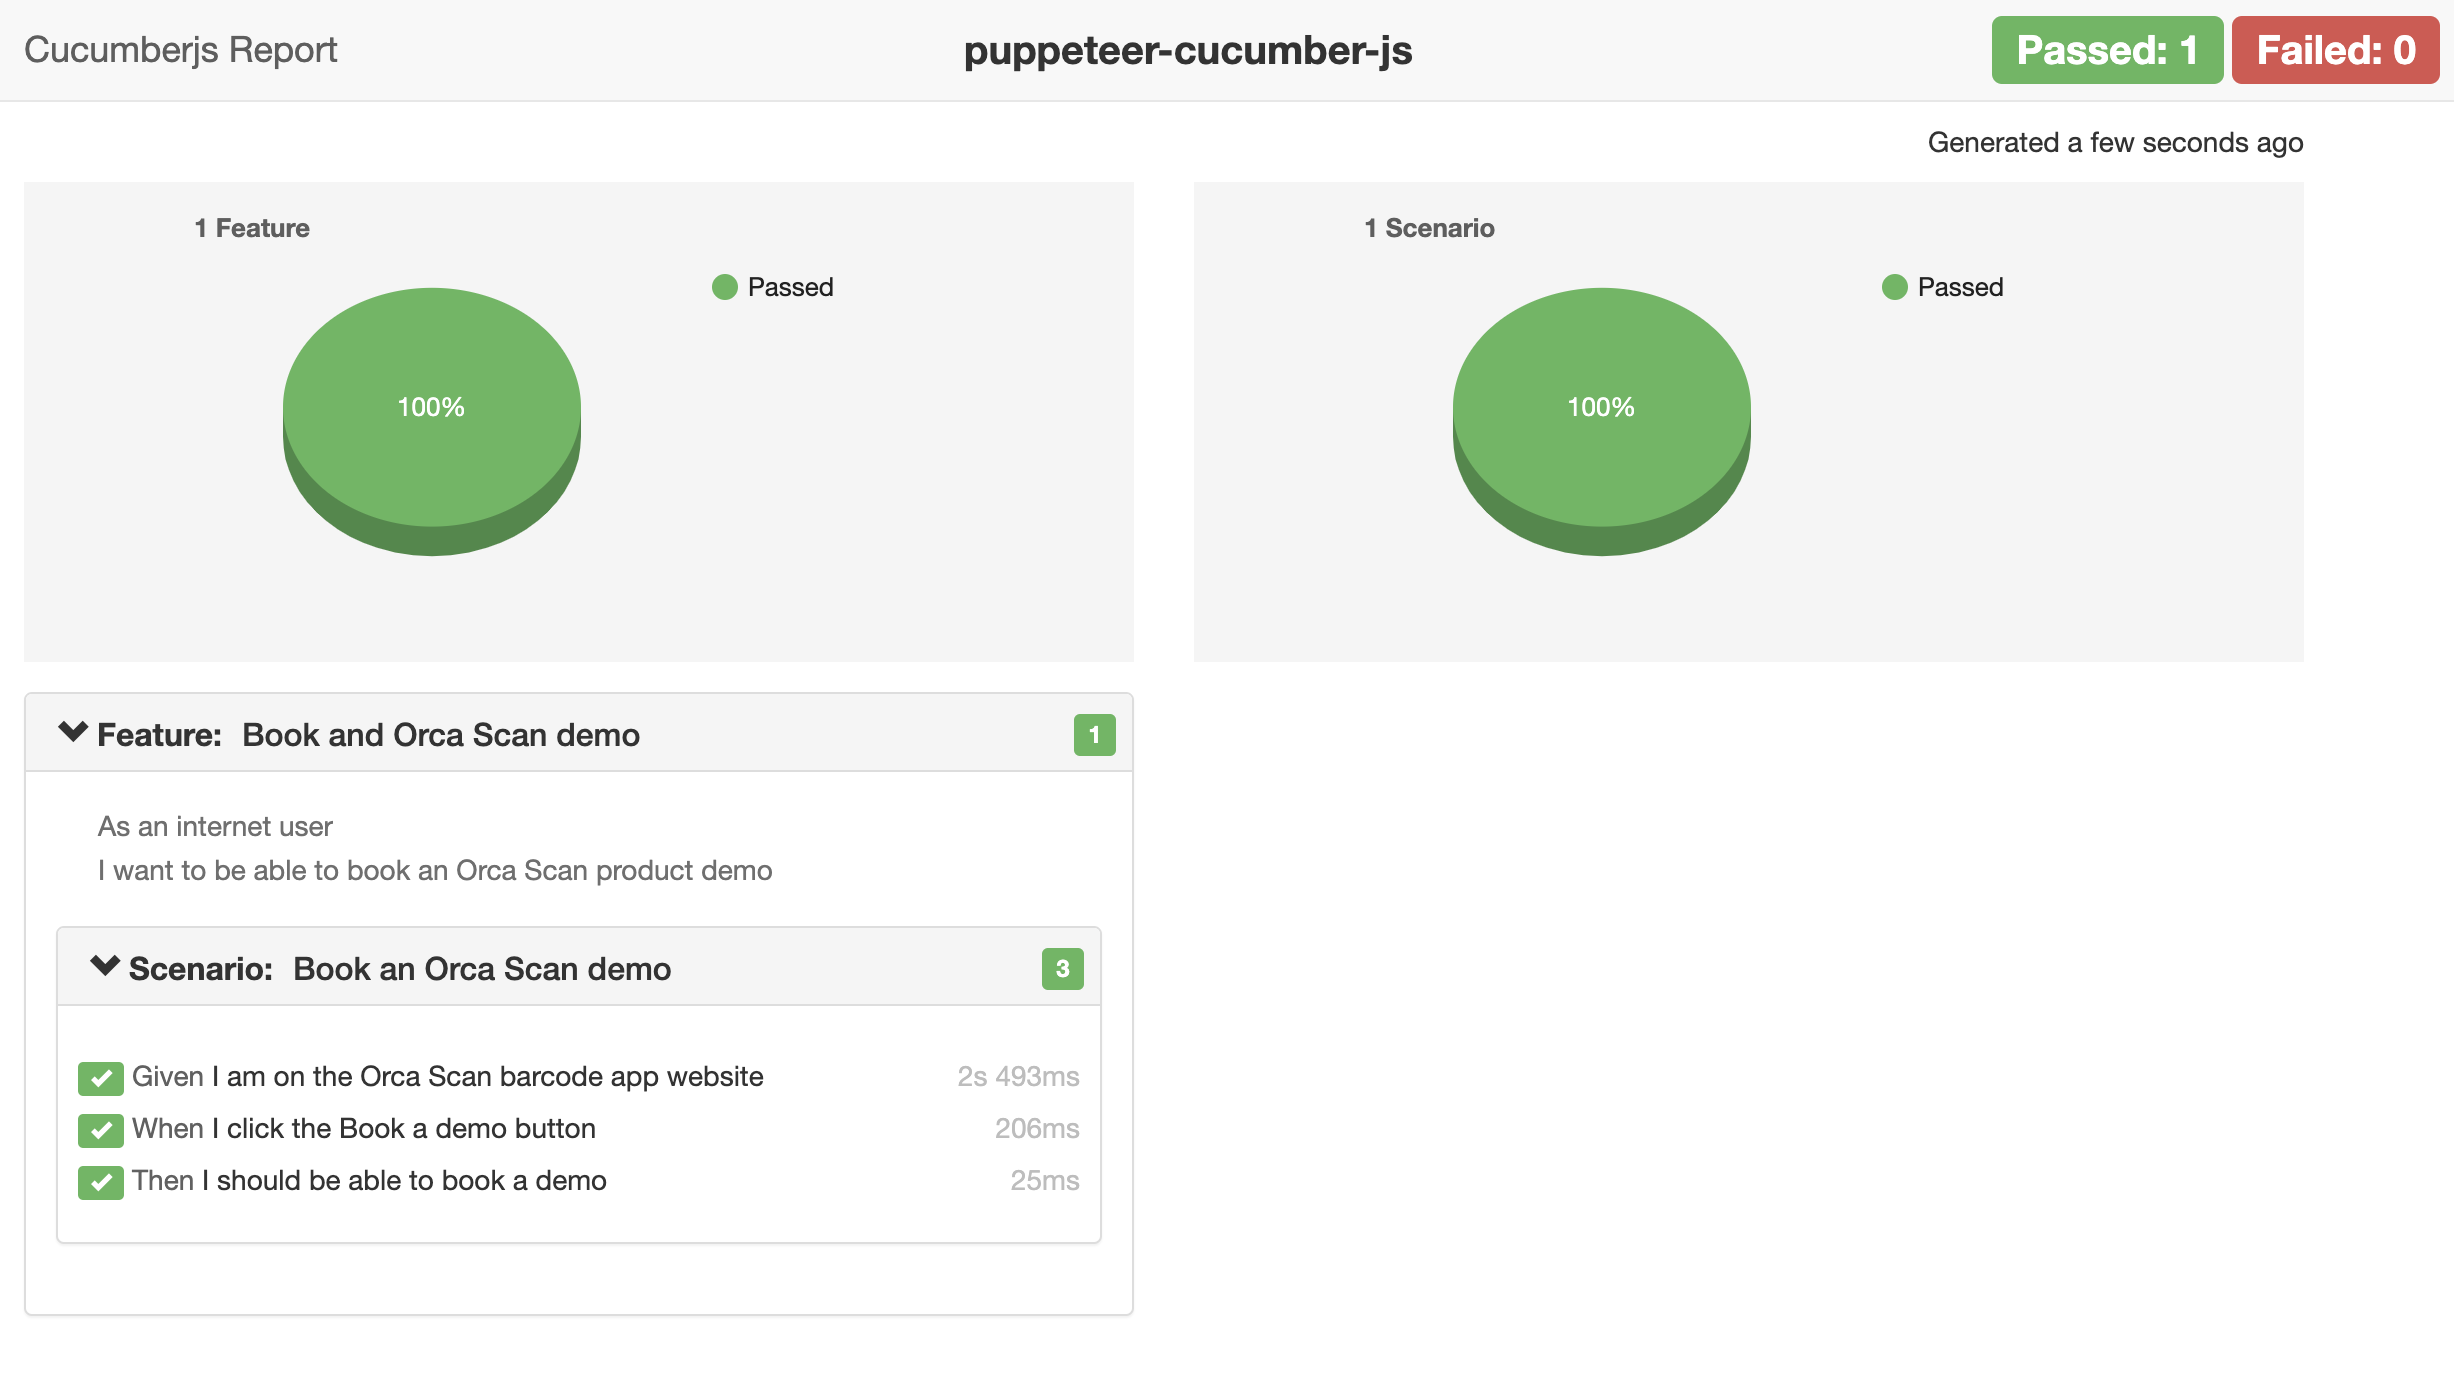
Reports
HTML, JSON and JUnit reports are auto generated with each test run and stored in ./features/reports/:
How to debug
To step into debug mode in the browser, enable dev tools --devTools and use helpers.debug() within your steps:
module.exports = function () {

    this.When(/^I search Google for "([^"]*)"$/, async function (searchQuery, done) {

        // Stop the browser in debug mode
        helpers.debug();
    });
};
Demo
To demo the framework without installing in your project use the following commands:
# download this example code
git clone https://github.com/orca-scan/puppeteer-cucumber-js.git

# go into the new directory
cd puppeteer-cucumber-js

# install dependencies
npm install

# run the google search feature
node index
Bugs
Please provide as much info as possible (ideally a code snippet) when raising a bug
Contributing
PRs welcome 🤓
License
Licensed under ISC License © Orca Scan, the Barcode Scanner app for iOS and Android.